Table of Contents
Respond AI
 Updated
by Sana
Updated
by Sana
The Respond AI feature enhances the effectiveness of your communication by improving your sentences or even responding to incoming messages with the help of AI. Respond AI consists of the following four main components:
Getting Here
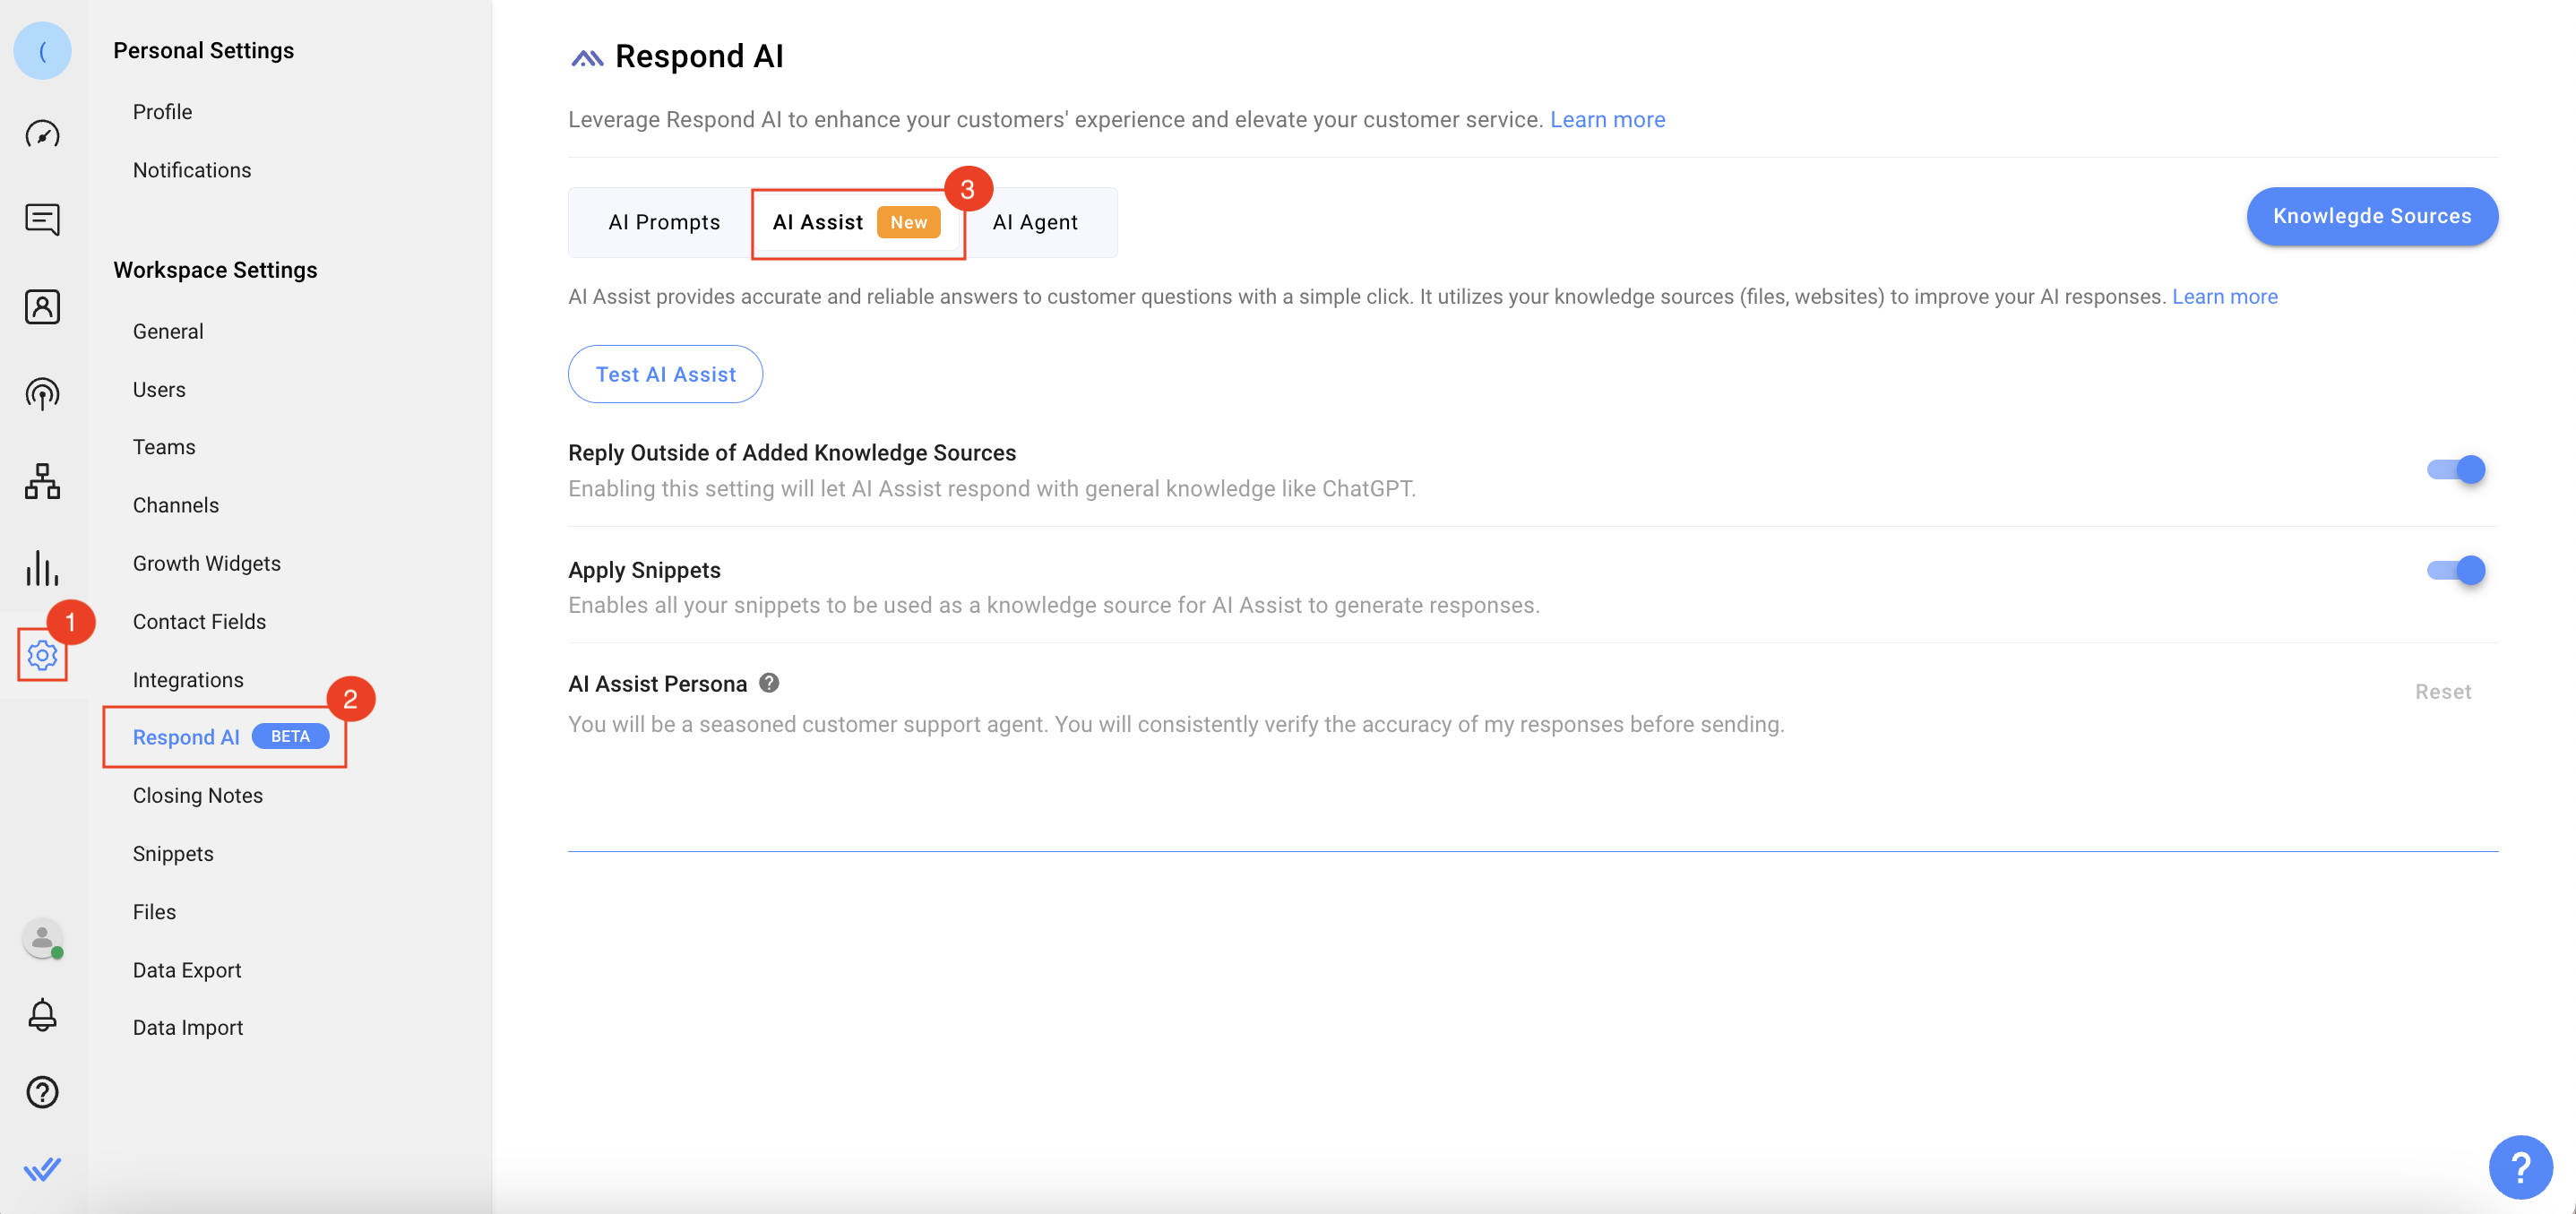
Go to Workspace Settings and select Respond AI to access this feature.
The page has the following three tab:
- AI Prompts: This tab is displayed by default, and you can select which AI prompts you need from here.
- AI Assist: Select this tab to add knowledge sources, determine if snippets will be used by the AI Assist to respond to queries and define the AI Assist persona.
- AI Agent: Select this tab to provide settings for the AI Agent Step.
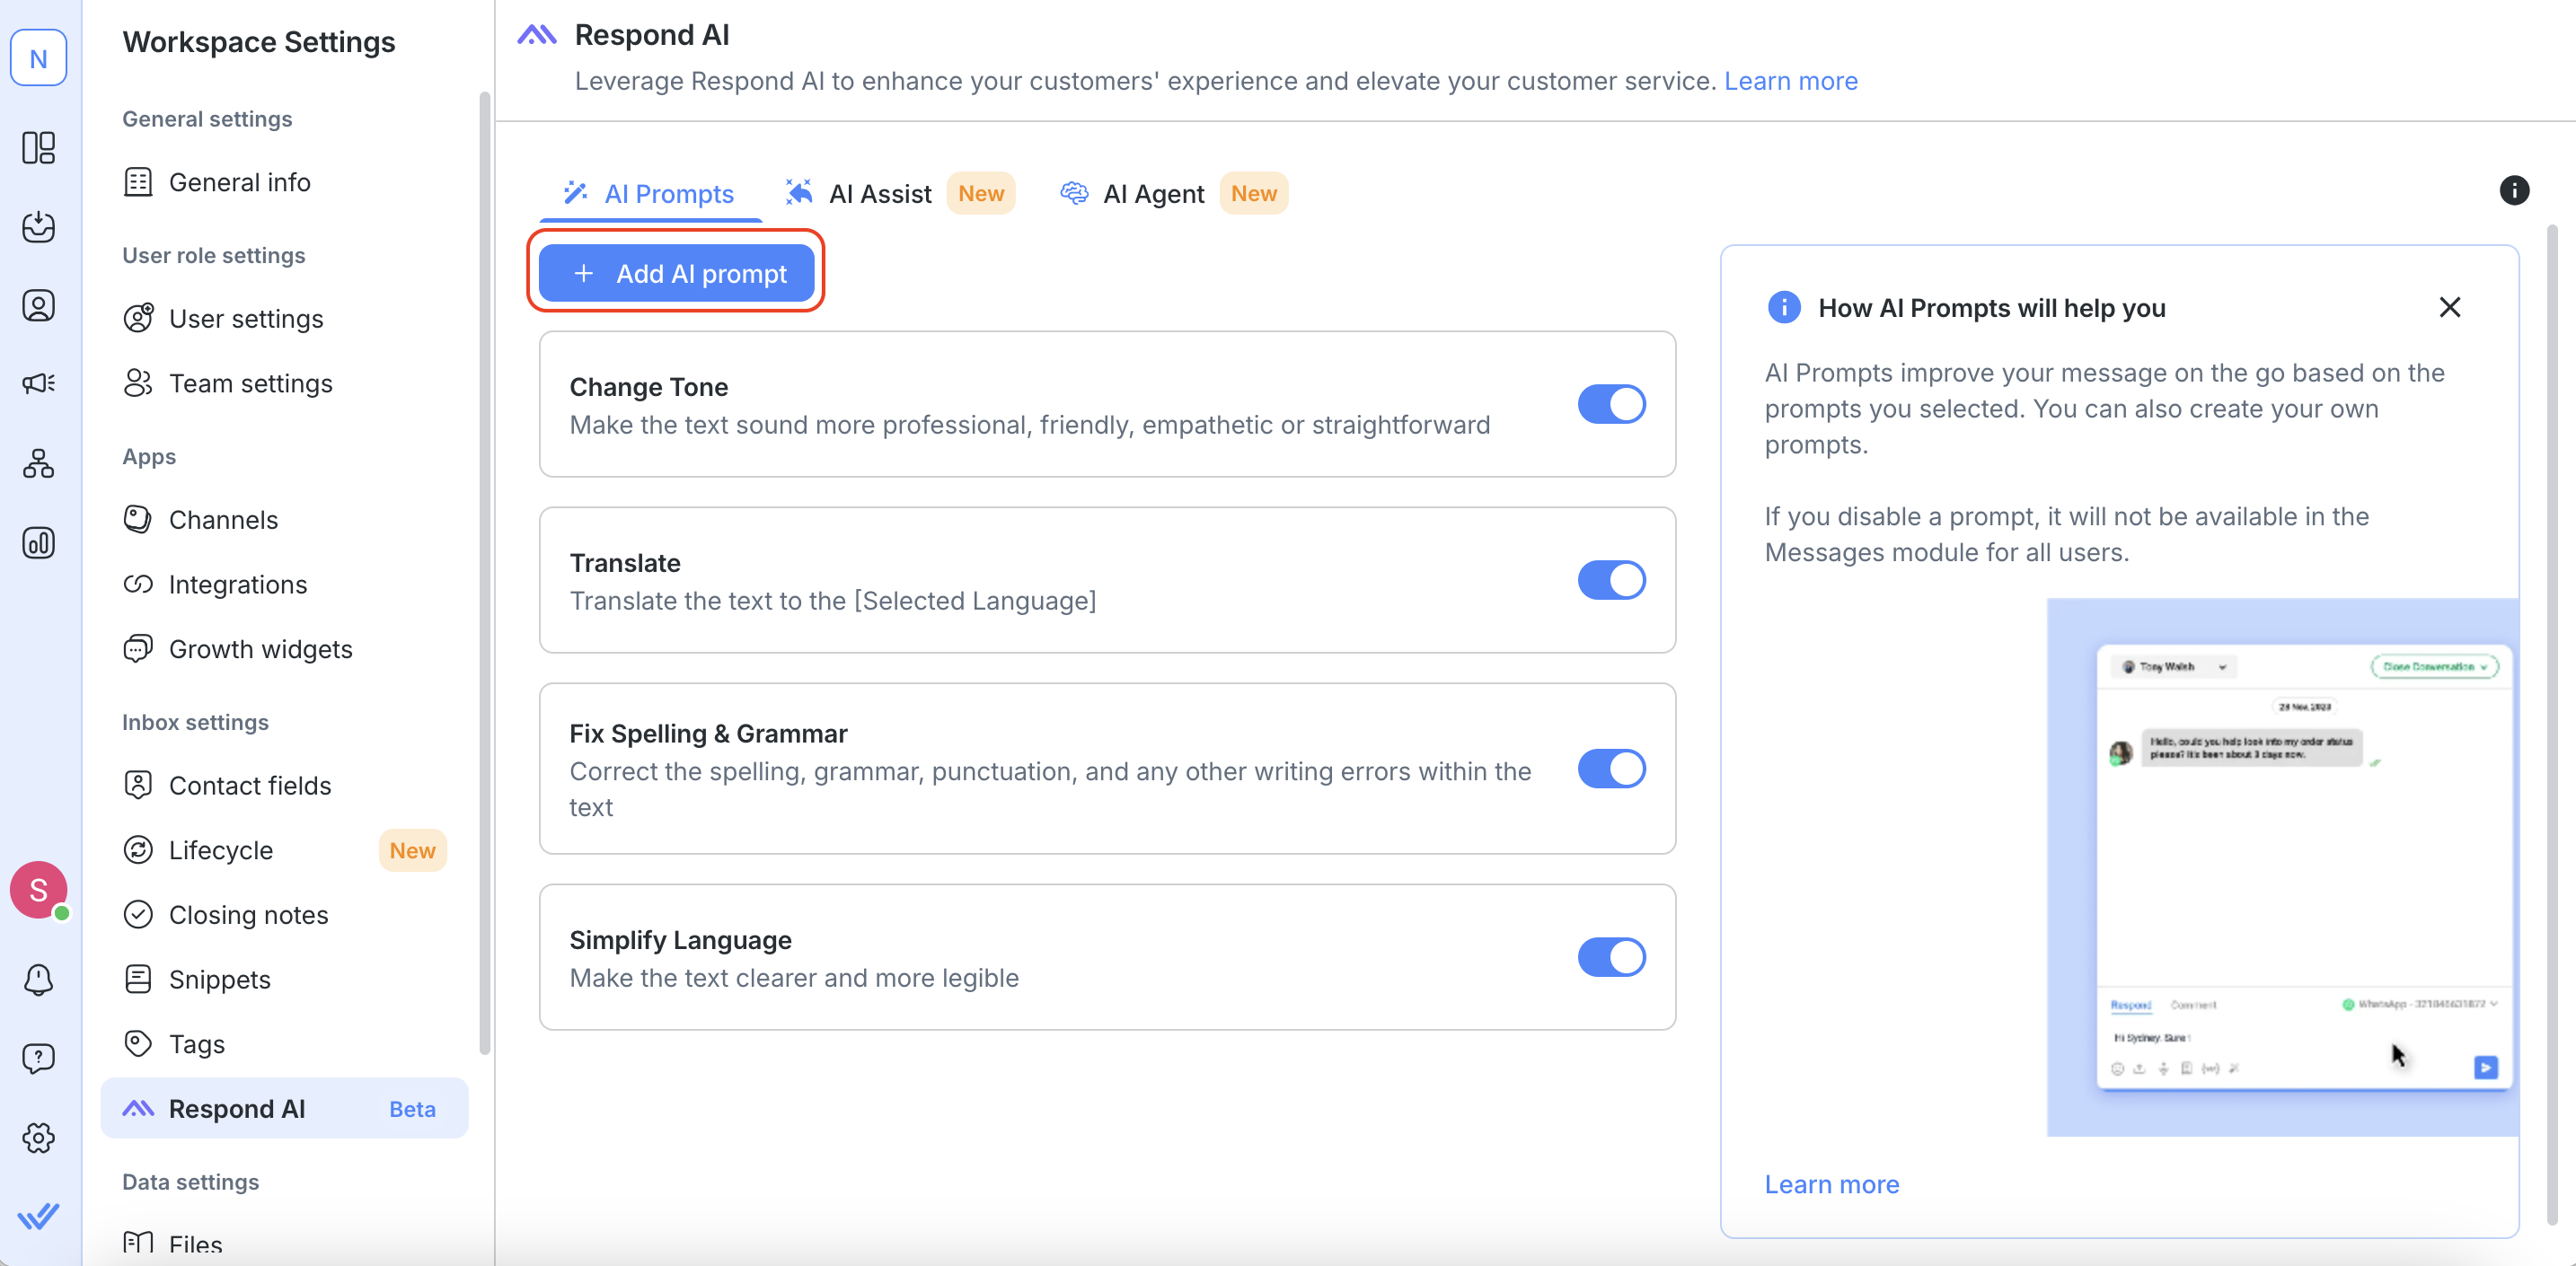
AI Prompt
By default, Respond AI provides you with 4 default prompts and the capability to create 4 more custom prompts. You can swipe the toggle right/left to enable/disable prompts on the Quick Prompts page. The selected prompts are available in the Messaging Console of the Inbox Module.
Default Prompts
The following 4 inbuilt prompts are enabled by default and can be used immediately:
- Change Tone
- Translate
- Fix Spelling & Grammar
- Simplify Language
Custom Prompts
You can create up to 4 custom prompts that exclusively behave how you want them to.
Creating a Custom Prompt
To create a new custom prompt, click the Add Custom Prompts button.
On the New Prompt dialog, provide the following information:
Option | Description |
Prompt Name | Enter the name of your custom prompt. For example, Make Concise. |
Prompt Action | Enter the action you want your prompt to perform. For example, Make the sentence shorter and concise. |
Save | Click this button to save the prompt settings. |
Cancel | Click this button to discard your changes. |
Editing a Custom Prompt
Once the custom prompt has been created, you can edit it by clicking the Edit button next to it. Once you have edited the prompt, click Save.
Deleting a Custom Prompt
If you do not need a custom prompt anymore, you can delete it by clicking the Delete button, and confirming the deletion in the dialog that appears.
Enabling/Disabling Prompts
- To enable a prompt, swipe the toggle of the prompt right so that it is available in the Messaging Console.
- To disable a prompt, swipe the toggle left so that it is not available in the Messages Console.
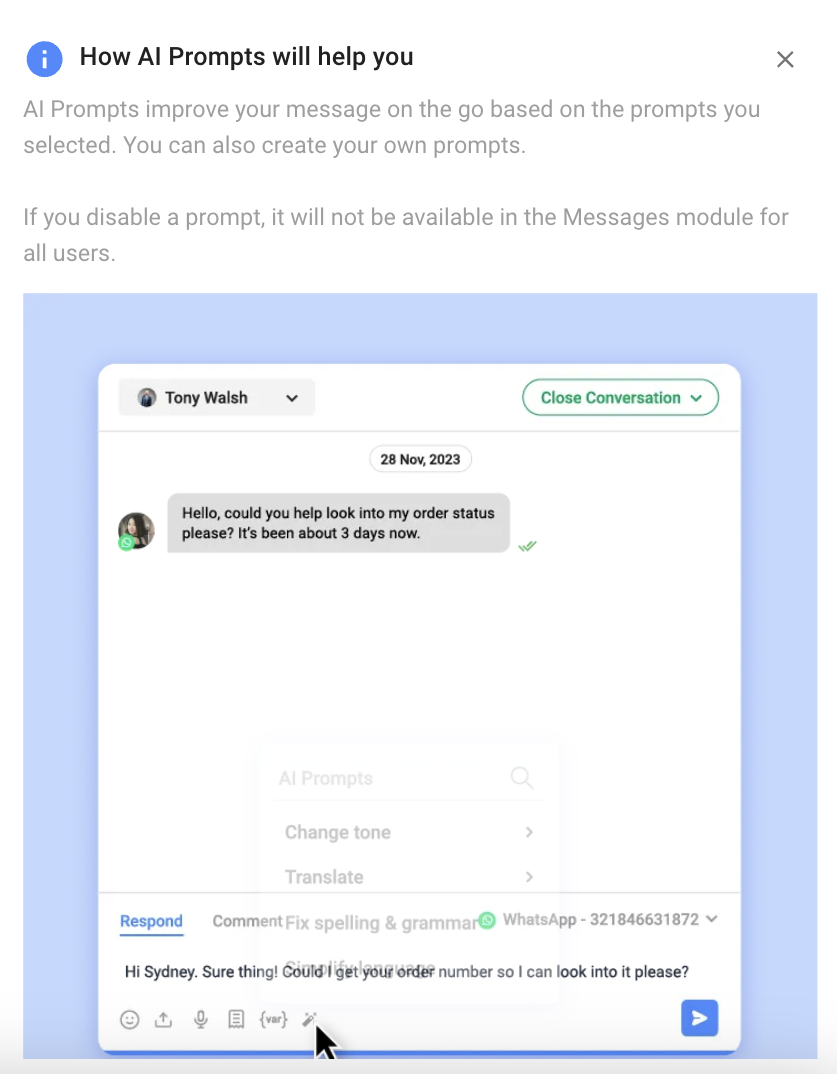
AI Prompts Quick Guide
The Quick Guide section shows you how the AI Prompts work.
Knowledge Sources
Access knowledge sources for AI Assist and AI Agent, including PDFs and URLs, to help the AI understand your business and provide accurate responses.
Before using AI tools, test them to ensure the knowledge sources are sufficient. If needed, add more sources by clicking the Knowledge Sources button.
Note: Deleted sources will no longer be used for answering queries.
Step 1: Providing Knowledge Sources
Enhance AI Assist and AI Agent by adding the following:
Files:
- Drag and drop PDF or text files in the Files dialog and click Upload (max: 5 files at a time, 50 per workspace).
- Avoid images and table-based data; reformat into non-tabular text.
URLs:
- Enter a URL in the Website URLs dialog. AI will crawl the page (up to three link depths).
- Add new URLs only after the previous crawl is complete. Recrawl updated pages to reflect changes.
Capacity: Workspaces support up to 1 million characters (50,000 for Trial plans).
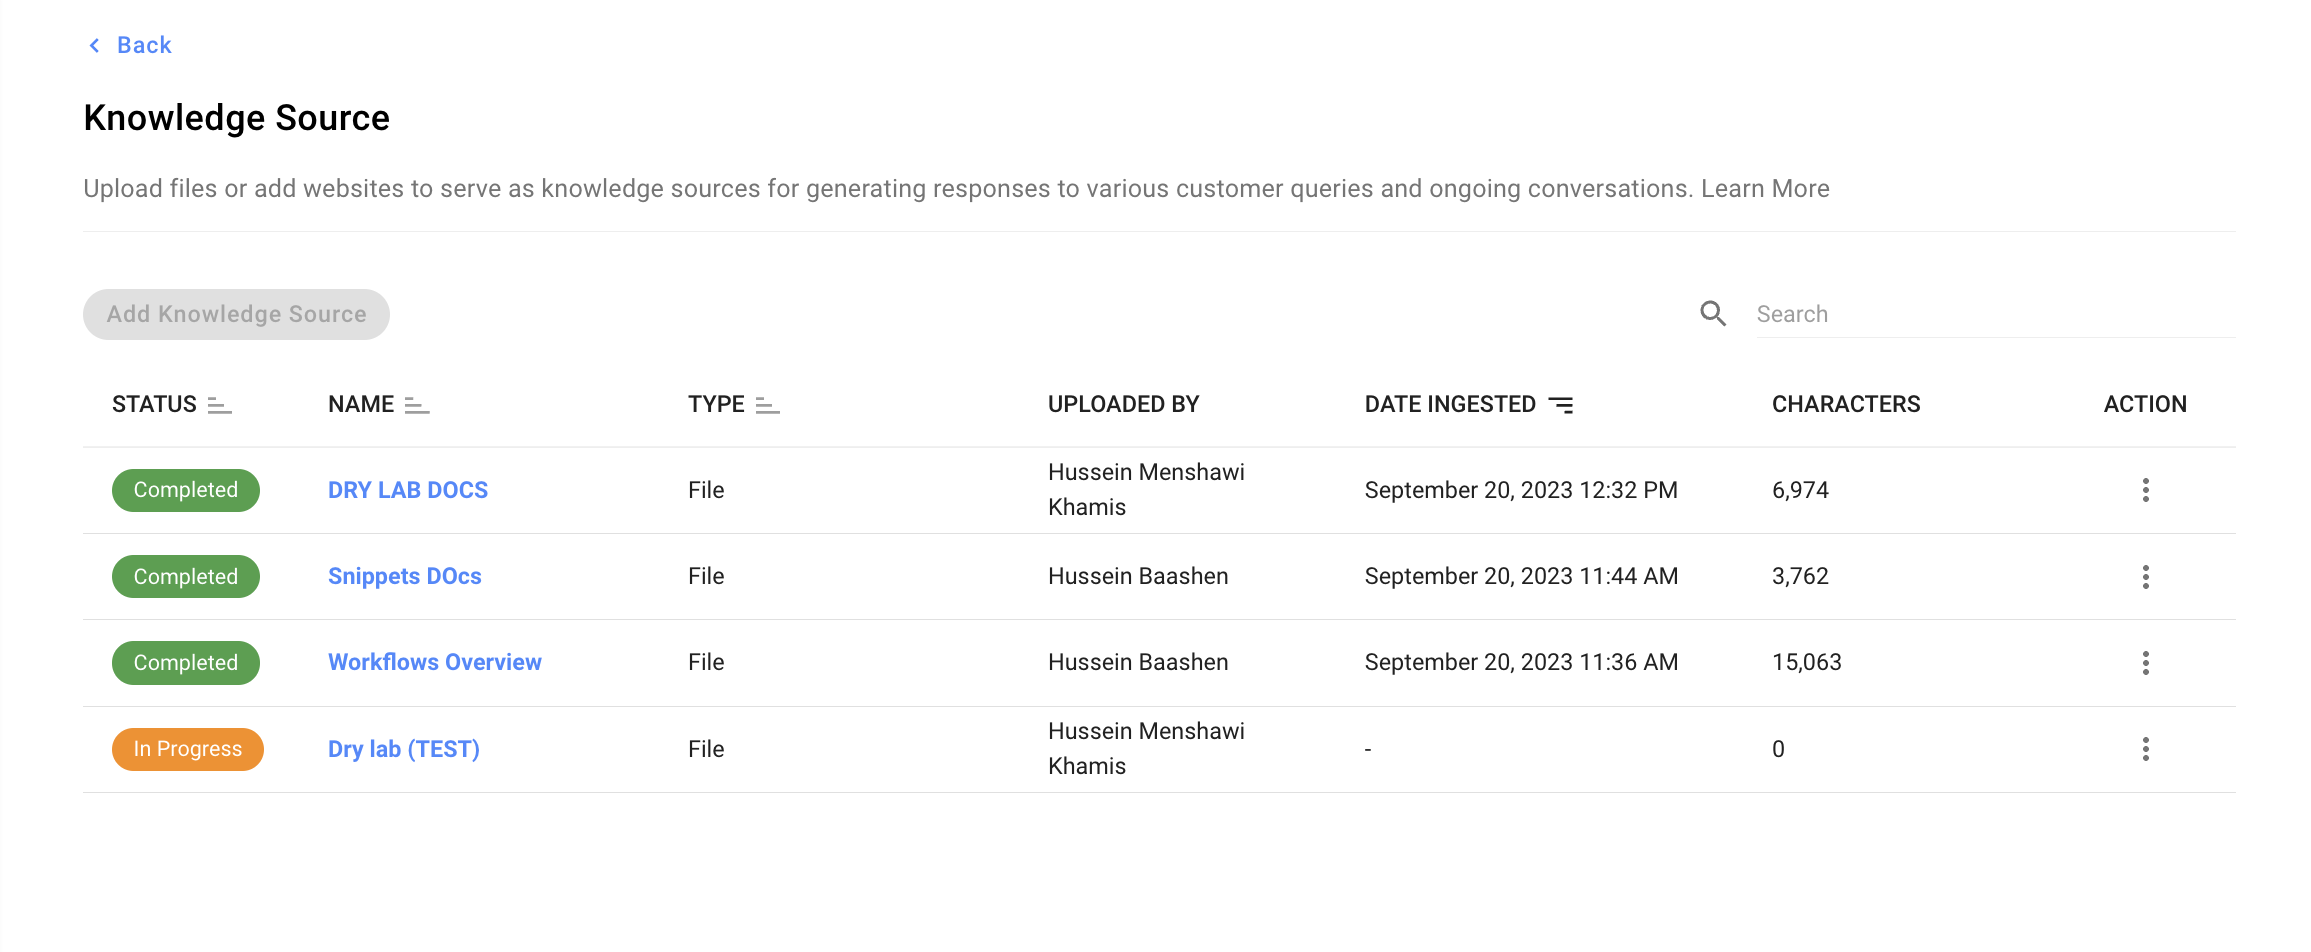
Status Indicators:
- Completed: Source added; responses ready in 2 minutes.
- In Progress: Source is being processed.
- Error: Fix issues and retry.
After adding sources, click Done to complete. Check the Status column for progress updates.
Step 2: Managing Knowledge Sources
You can edit, view logs, resync and delete the Knowledge Sources you provided on the Knowledge Source tab.
Editing
From the ACTION menu, select Edit to edit the Knowledge Source information or the file(s) you uploaded. For websites, you can schedule an automatic sync of the Knowledge Source data and webpage. You can also change the format of the file of your Knowledge Source, i.e., if your Knowledge Source is a PDF file, you can replace it with a Text file instead.
View Logs
From the ACTION menu, select View Logs to view the website's log information i.e., the links crawled.
Resync
From the ACTION menu, select Resync to crawl the website again and update the current data with the most recent content of the Knowledge Source. You can also schedule the resync to happen repeatedly by scheduling them. This enabling your Knowledge Source to remain up to date with minimum effort. If the resync ever fails, you receive a notification and email informing you of the failure. You can then troubleshoot the issue. For example, when your Knowledge Sources have reached the maximum allowed character limit, your scheduled syncs will no longer work, you will need to remove some Knowledge Sources in order to enable resyncs.

Deleting Sources
From the ACTION menu, select the Delete button/icon to delete the Knowledge Source permanently. Your AI cannot access this knowledge source anymore and therefore, it cannot base responses on it.
Knowledge Source Quick Guide
The Quick Guide section shows you how the AI Assist - Knowledge Sources work.
Limitations
- Character Limit Constraint: The crawler's operation is limited by the character capacity of the workspace, which is set at a maximum of 1,000,000 characters (1MB).
- Error Count Threshold: The crawler can handle up to 10 errors per crawling job, with two error types - Timeout Errors and Protocol Errors.
- Page Count Limit: There is a limit on the number of pages the crawler can process, which is set at 10,000 pages.
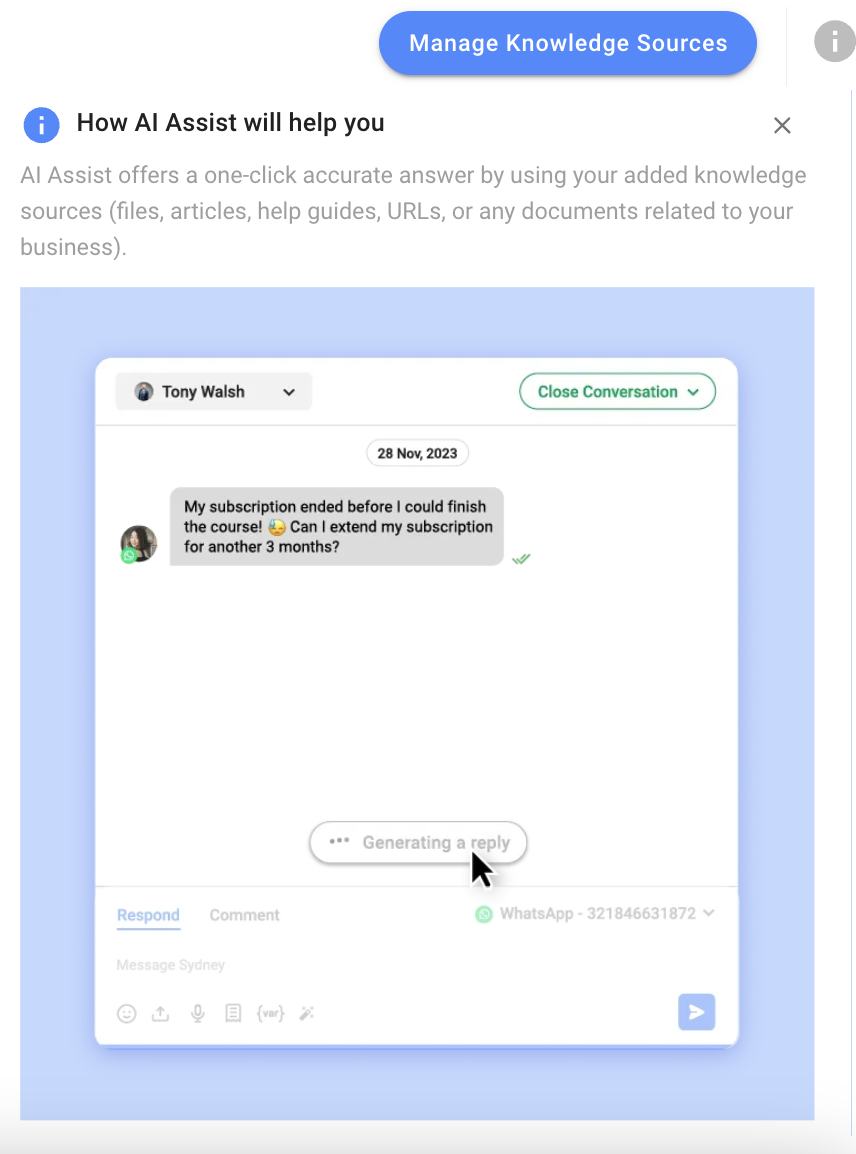
AI Assist
AI Assist lets you leverage the power of Respond AI to conduct engaging conversations with customers. You can start off by providing educational material to help AI Assist learn about your business requirements. Once done, it can formulate responses to customer queries based on the information it has.
On the AI Assist tab, you can improve AI responses by adding Knowledge Sources, testing AI Assist and providing other settings.
Testing AI Assist Responses
After defining the Knowledge Sources, return to the AI Assist tab and click the Test AI Assist button to open the Test AI Assist dialog.

- Provide a question in the Prompt field and click the Send icon.Each response costs 1 credit.
- View and verify that the response displayed in the Response area is correct.
- Click Done to close the dialog.If you are not satisfied with the response provided by AI Assist, you can provide additional Knowledge Sources using the Add Knowledge Source button.
Selecting Other Options
You can provide other settings such as enabling AI Assist to respond outside of added Knowledge Sources, add snippets and define a persona for AI Assist.
- Swipe the Reply outside the added knowledge source toggle to the right to allow AI Assist to respond using the information provided to the Knowledge Source and the external source of information i.e., ChatGPT.This toggle is enabled by default if no Knowledge Sources have been added yet.If this toggle is not turned on and there is no related material in the Knowledge Source, and you have no snippets, or you turned off the snippets, no answer is drafted by AI Assist for the incoming message(s).
- Swipe the Snippets toggle to the right to allow AI Assist to use your snippets as a Knowledge Source to draft responses to your conversations.
- It is recommended that you define the persona of AI Assist in the AI Assist Persona field by defining the distinct characteristics you want your AI Assist to have. For example, create a background of the persona by identifying the purpose/role it has in a conversation, define the personality (skillset, speaking style, etc.) and any other qualities that help Respond AI craft the behavior of AI Assist. However, a default persona has been provided for convenience which adheres to professional yet courteous conduct. Design the AI Assist persona carefully so that it can draft responses that best suit your business requirements.If you want to revert back to the default persona, you can click the Reset button.
How it Works?
You can now start using AI Assist to draft responses to customer queries in the Inbox module.
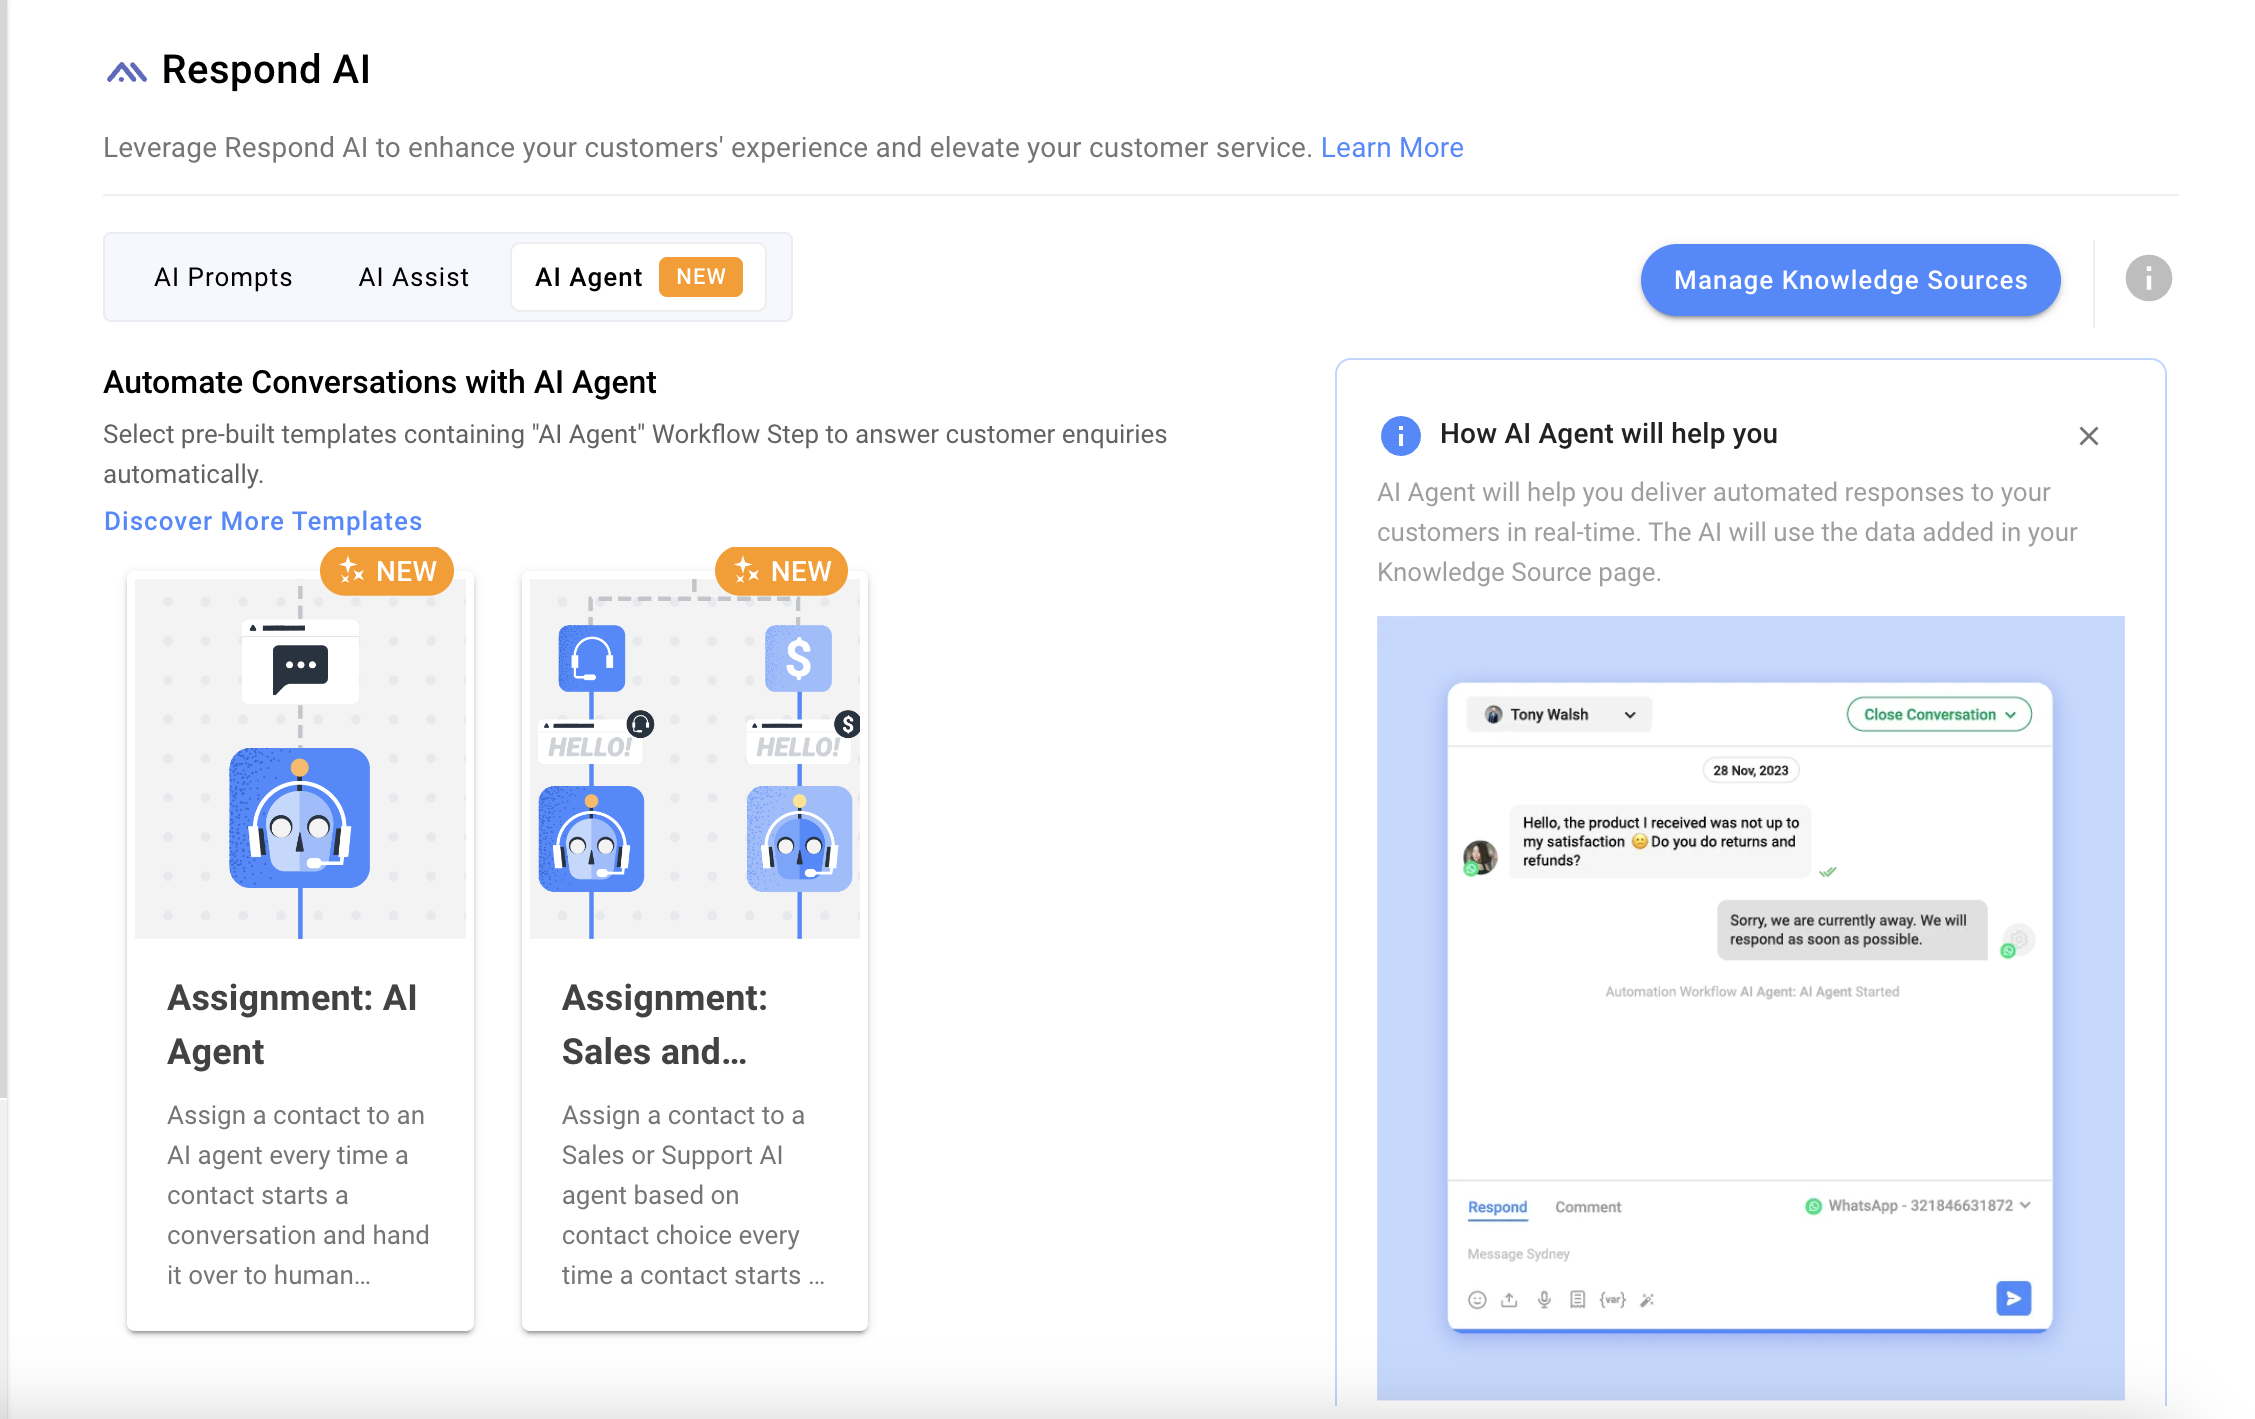
AI Agent
The Respond AI chatbot, AI Agent, replies to customer inquiries using the Knowledge Sources/Snippets provided to it (using Answer Questions objective) or collects information from them (using Collect Information objective). The AI Agent can be enabled in the Workflows module using the AI Agent Step.
You must provide some Knowledge Sources or Snippets to your AI Agent as reference material to use while responding to a customer’s queries. It is recommended to provide focused information to the AI Agent to enable it to provide the best responses. Therefore, when adding the AI Agent Step, provide knowledge sources focusing on one topic. For example, if you want your AI Assist to function as a virtual support agent for Product A, you will provide the relevant Knowledge Sources to help the agent answer queries related to Product A. When AI Agent has many Knowledge Sources on various irrelevant topics, it slows the AI Agent and increases the response time.
You can also have AI Agent collect basic information from customers e.g., their phone number or email address and update the platform accordingly.
AI Agent is ideal for handling low-value conversations and can provide continuous 24/7 support to clients without additional cost.
AI Agent Behaviour
- The AI Agent takes previous messages/queries in context before replying to a query.
- If one message contains multiple queries, AI Agent responds to all queries in one answer. Only 1 credit is deducted.
- The AI Agent can process text, email, and quick replies. It cannot, however, process to images.
- If a conversation is closed and reopened, the AI Agent will only respond to the queries asked after the conversation was opened.
AI Agent Quick Guide
The Quick Guide section shows you how the AI Agent - Knowledge Sources work.