Table of Contents
User settings (previously Users)
 Updated
by Susan Swier
Updated
by Susan Swier
Getting Here
This setting can be accessed from the Settings navigation menu under the Workspace Settings sub-menu item, User settings.
In these settings, you can:
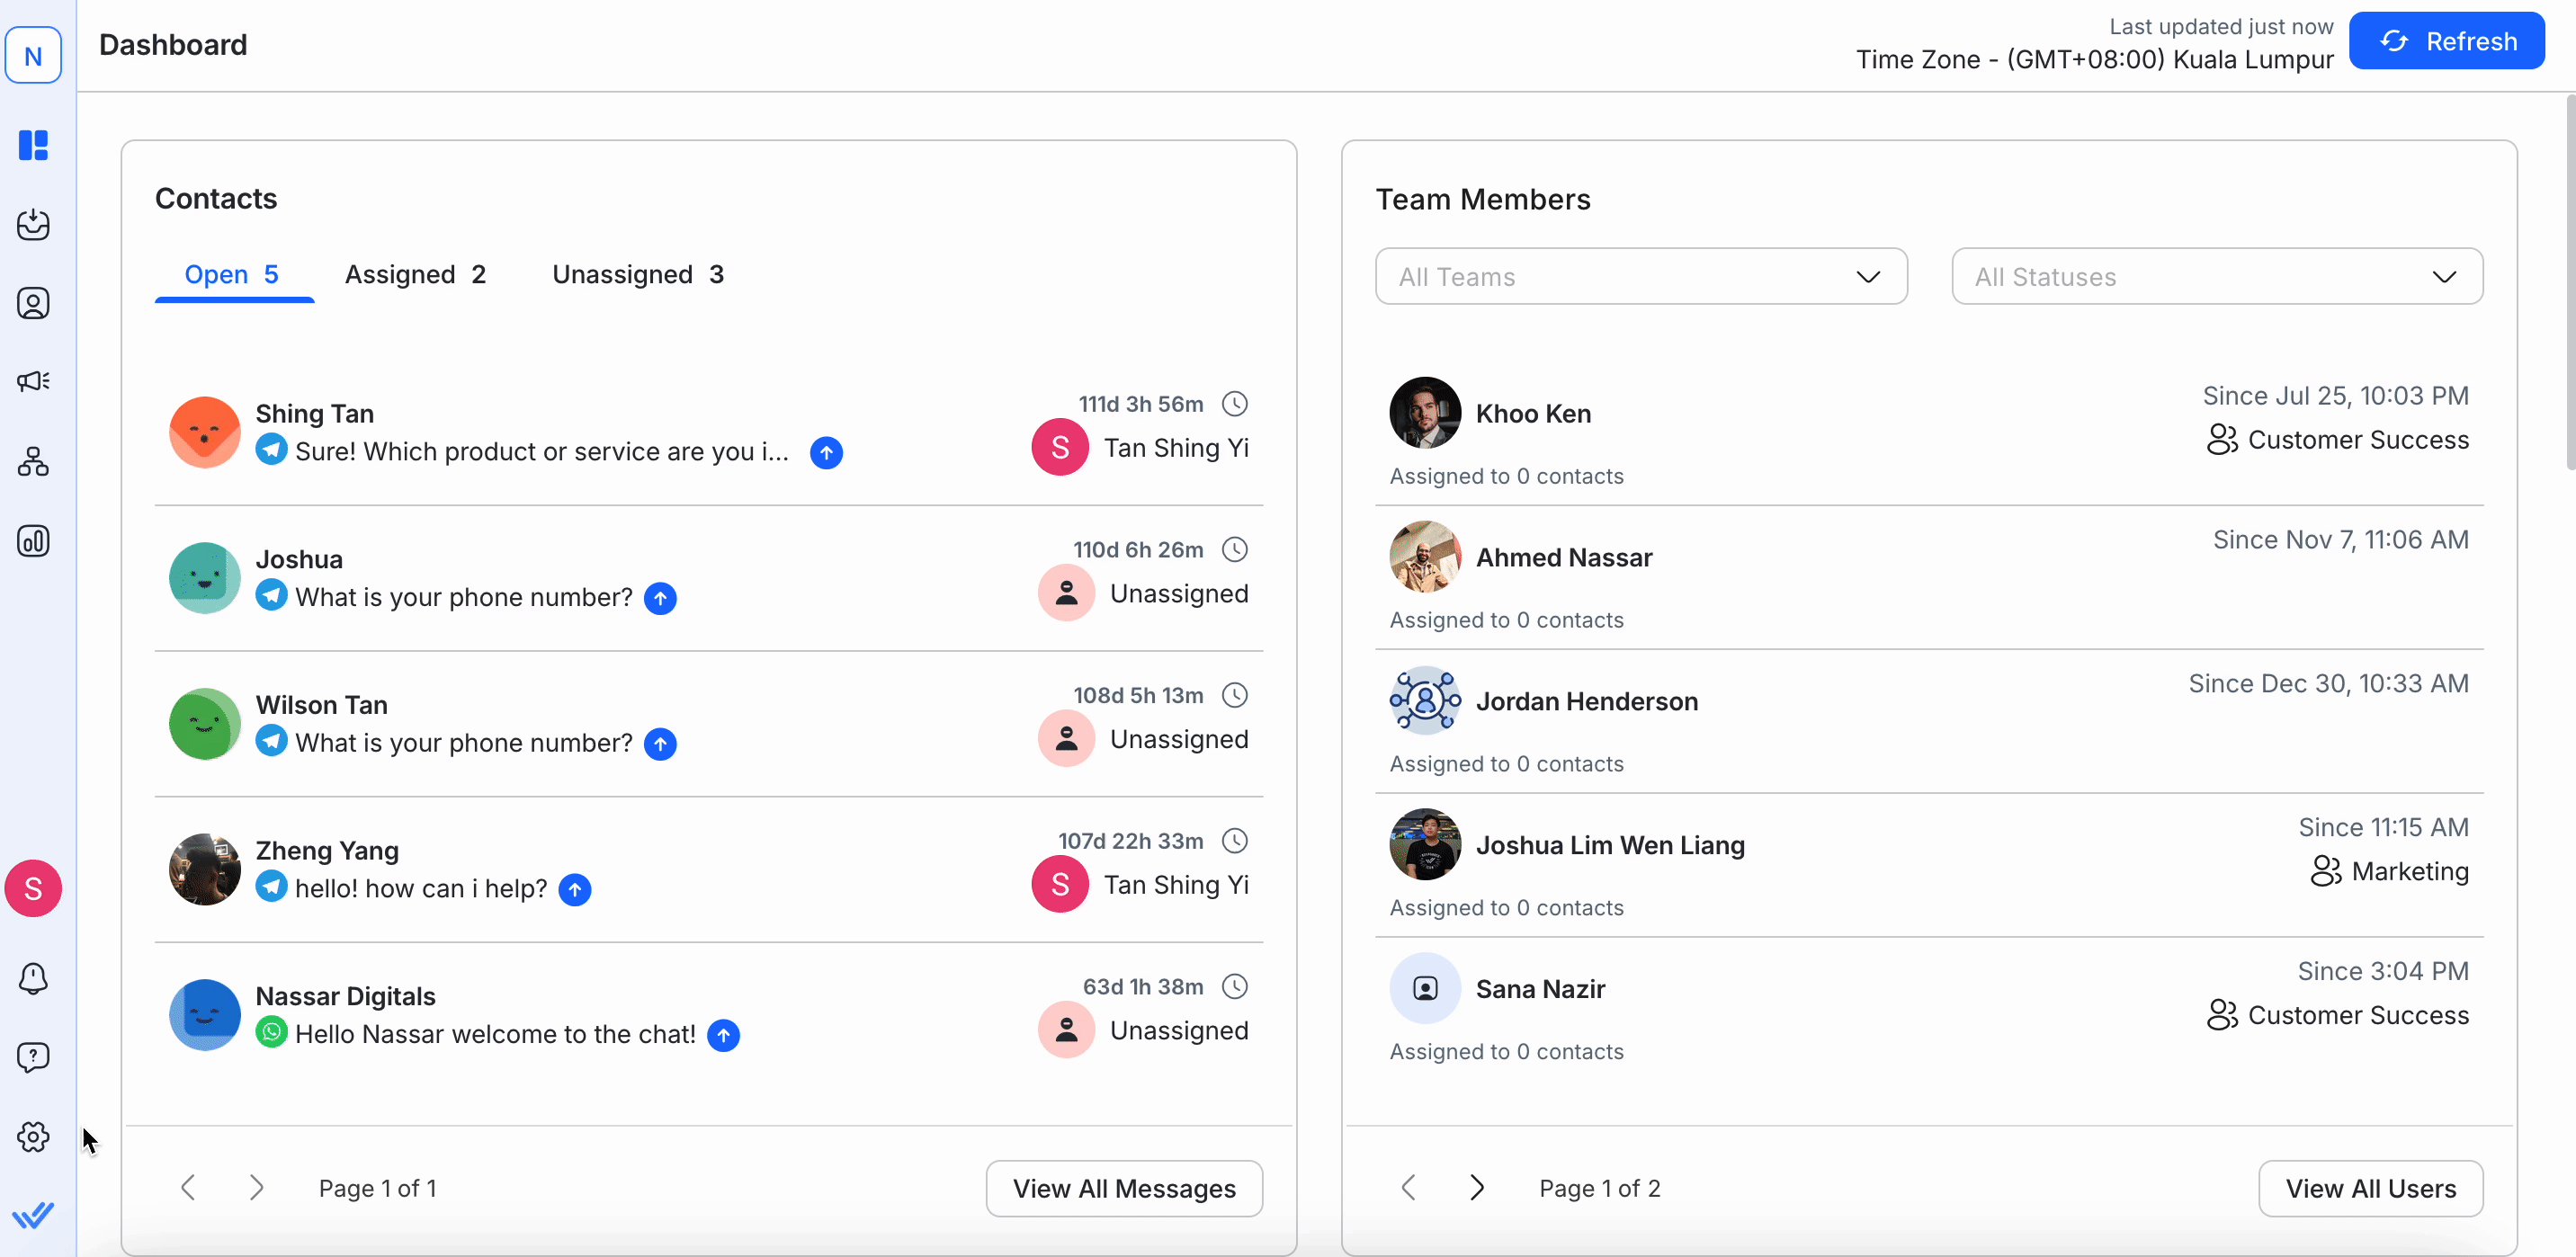
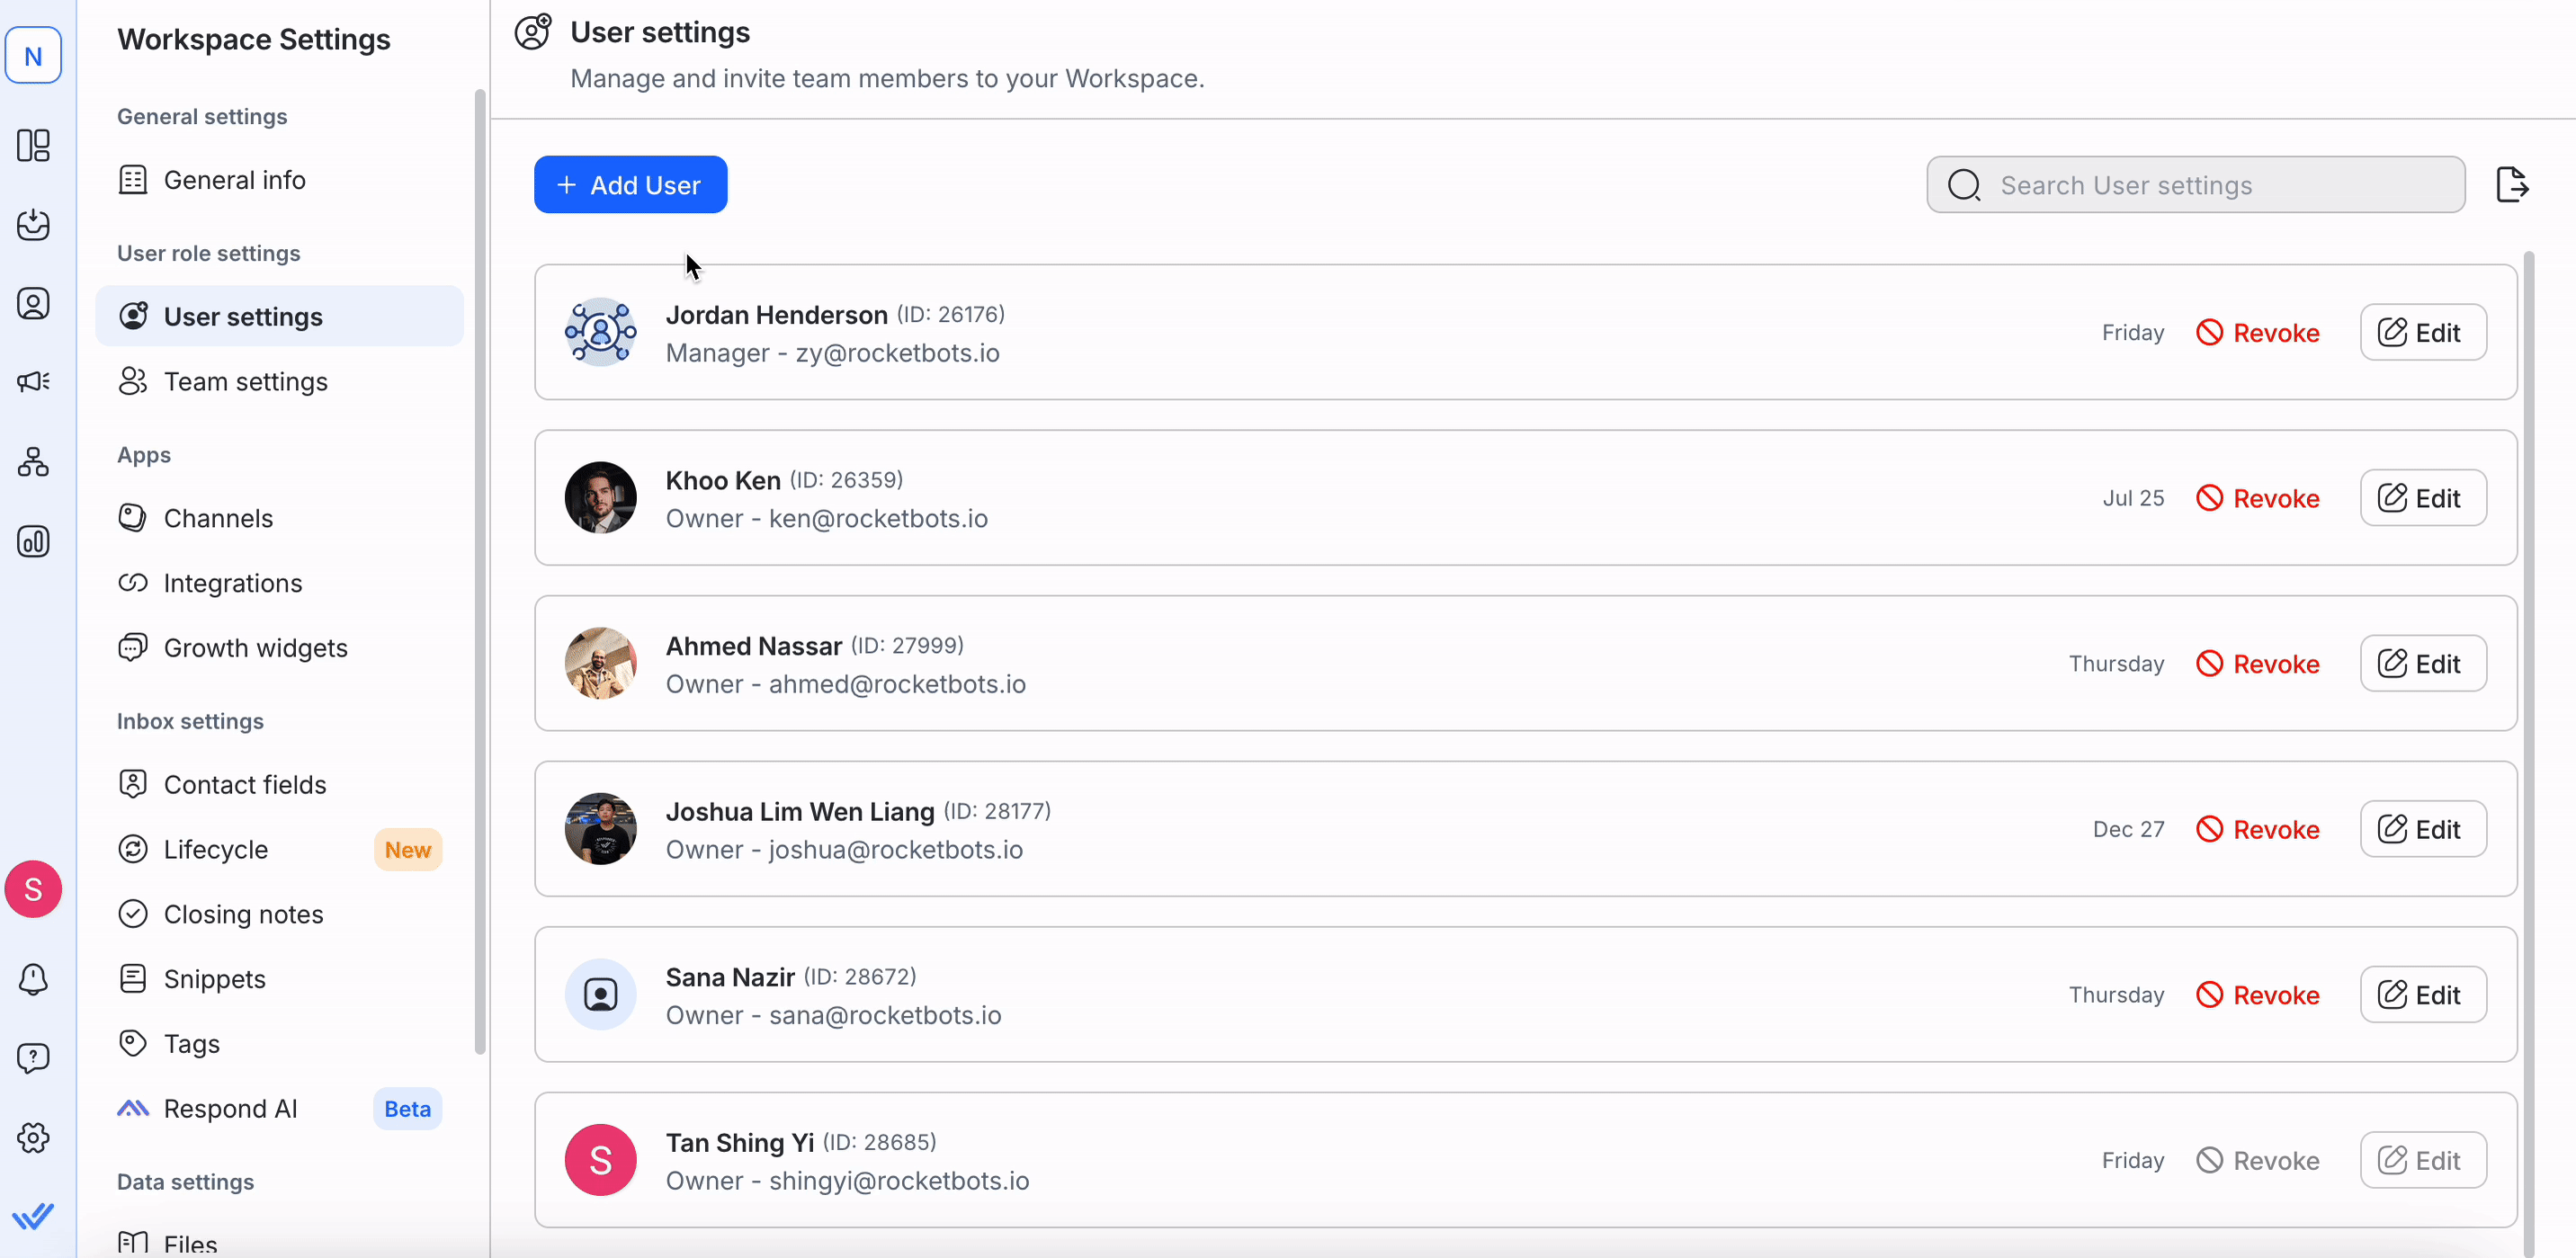
User Settings Overview
Here, you will be able to see the list of existing Users that have been invited to help you manage your Workspace. If they have not accepted your invitation, their email address will be marked as pending.
User Profile
The user profile consists of the User's profile avatar, display name, user access level and email address.

There is a status indicator at the bottom right of the User's profile avatar. If the green indicator is present, then it means the user is online. This status reflects their presence in real-time.
Last seen
The time beside the Action buttons shows the User's last seen status or last activity on the platform. This is useful for monitoring purposes.
Actions
There are two possible actions to take here:
Adding New Users
Step 1: Navigate to Users settings and select Users from the menu.
Step 2: Click Add User
Step 3: Enter the Email Address of the User whom you wish to invite
Step 4: Select an appropriate Access Level for this new User.
Step 5: For Managers and Agents, advanced restrictions may be applied if necessary depending on your Organization's needs.
Step 6: Once you have filled out the fields, Click Add to add the user into your Workspace
Exporting Users
If you wish to export the Users of your Workspace, click on the Export button. You can export your Users in a CSV file.

Managing User Roles and Access
There are three User roles on the respond.io platform. Different User roles have different levels of access to the Workspace they have been invited to. The following are the available roles:
Assign roles to Users wisely in order to protect your Workspace. Roles allow you to limit the level of access of each collaborator invited to your Workspace.
Owner
Owner is a user access level that has access to all the modules of the platform except for billing. Owners can be invited to the Workspace by the Owners of the Workspace.
As an Owner, you can:
- Have access to all modules
- Manage Workspace settings
- Invite Owners, Managers and Agents to the Workspace to collaborate
- Manage Users
Manager
Managers are invited to work on the Workspace by Owners.
As a Manager, you can:
- Have access to all modules
- Restricted accessibility to Workspace Settings
- Manage Workspace Settings
- Invite Agents to the workspace to collaborate
- Add Whatsapp Template Message (Twilio and MessageBird)
Advanced Restrictions
The following is the list of restrictions that apply to Managers:
Access to Workspace Settings - Managers with this restriction cannot access the Workspace Settings. Therefore, they won't be able to manage or change the settings. They also cannot add or delete Channels. To do so, the Owner access level is required.
Contact Deletion - Managers with this restriction are not allowed to delete Contacts.
Data Export - Managers with this restriction are not allowed to perform any data export from any modules in the Workspace.
Integration - Managers with this restriction cannot connect any integration to the platform.
Agent
Agents are expected to respond to messages on the platform and have limited access.
As an Agent, you can:
- Have access to Messages Module only
Advanced Restrictions
The following is the list of restrictions applicable to Agents:
Restrict Contact Visibility
- View Contacts assigned to their Team and themselves
- Agents with this restriction can only view Contacts who are assigned to themselves and their team in the Mine Inbox and Team Inbox. The agent won't be able to view unassigned Contacts and Contacts that are assigned to those who are not in their team.
- View Contacts assigned to themselves only
- Agents with this restriction can only view contacts assigned to themselves in the Mine Inbox. The agent won't be able to view unassigned contacts and contacts assigned to someone else.
Restrict Workflows Button
Agents with this restriction cannot see the Workflows icon in the messaging module. Hence, agents cannot initiate a Shortcut or view Ongoing Workflows.
Mask Phone Number and Email Address
Agents with this restriction will not be able to completely see a Contact’s Phone Number and/or Email Address.
Revoking Access
To revoke a User's access to your Workspace, press their respective Revoke Access button. This will open up the Revoke Access menu.
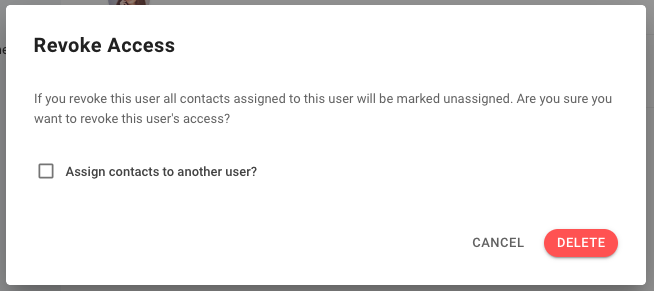
Assign Contacts to another User
Revoking a User's access will remove them from your Workspace. By default, any Contacts that were previously assigned to this User will be marked as unassigned. If you want these Contacts to be assigned to another User, enable the checkbox option and select a User to assign Contacts to from a dropdown menu.
Editing Users
Click the Edit button to open up the Edit User menu and make changes to your existing users on your Workspace.
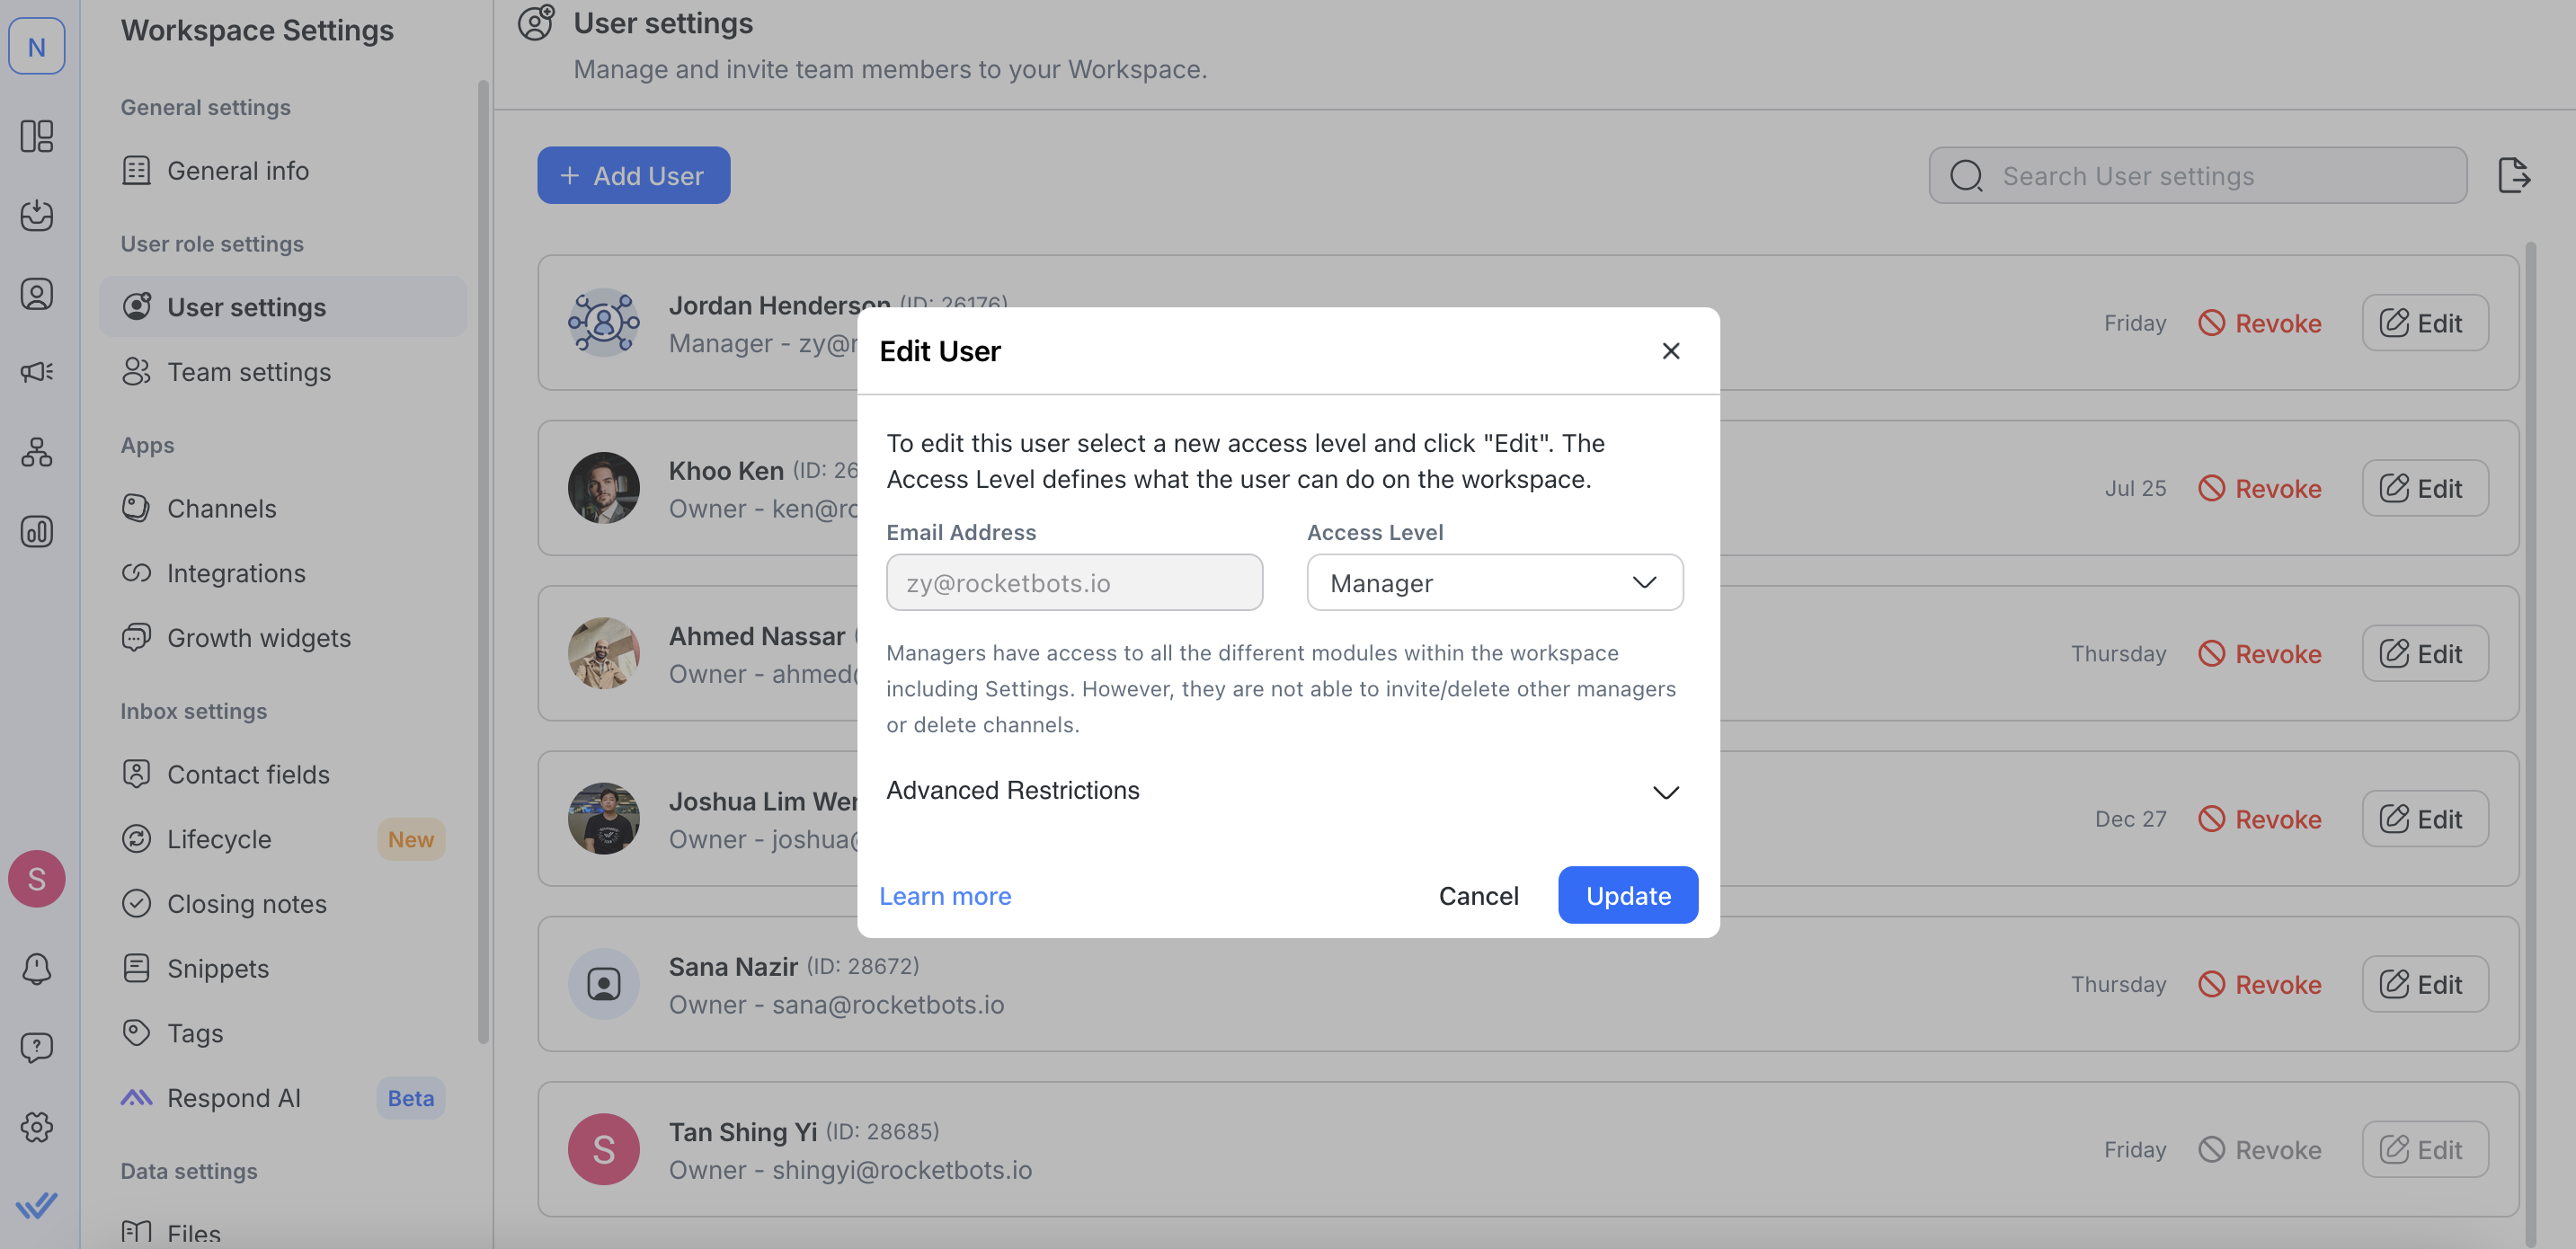
You can only make changes to a User's access level. Once you are done, click the Update button to save your changes.
User Access Permissions Details Chart
✅ = has access ⭕️ = can be allowed by Owner ❌ = no access
Owner | Manager | Agent | |
✅ | ✅ | ❌ | |
✅ | ✅ | ❌ | |
✅ | ✅ | ✅ | |
✅ | ✅ | ⭕️ | |
✅ | ✅ | ❌ | |
✅ | ✅ | ❌ | |
✅ | ⭕️ | ❌ | |
✅ | ⭕️ | ❌ | |
-- Users | ✅ | ⭕️ | ❌ |
-- Teams | ✅ | ⭕️ | ❌ |
-- Channels | ✅ | ⭕️ | ❌ |
✅ | ⭕️ | ❌ | |
-- Integrations | ✅ | ⭕️ | ❌ |
-- Snippets | ✅ | ⭕️ | ❌ |
-- Files | ✅ | ⭕️ | ❌ |
-- Data Export | ✅ | ⭕️ | ❌ |
✅ | ✅ | ✅ | |
✅ | ✅ | ✅ |
FAQ and Troubleshooting
How can I change a user’s email in my Workspace?
To change a user’s email, add a new user with the new email and provide them with the same access level as the user with the email you want to change.
Learn how to add a new user here. If an email is obsolete, you can delete the user by following the instructions here.