Table of Contents
- Getting Here
- Managing Conversations
Messaging From Your Mobile
 Updated
by Wai Ting Yong
Updated
by Wai Ting Yong
- Getting Here
- Managing Conversations
Getting Here
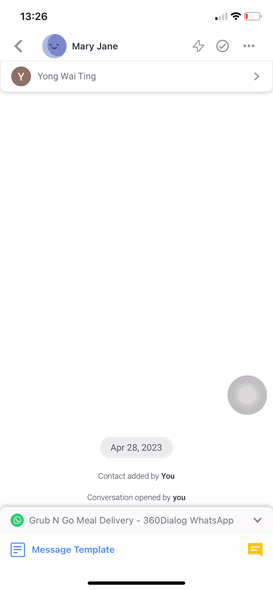
On the mobile app, navigate to the Messages tab via the chat icon at the bottom screen.
Managing Conversations
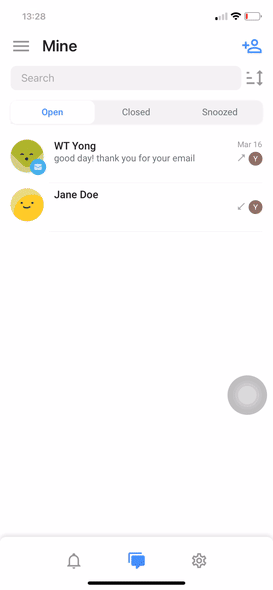
Selecting an Inbox
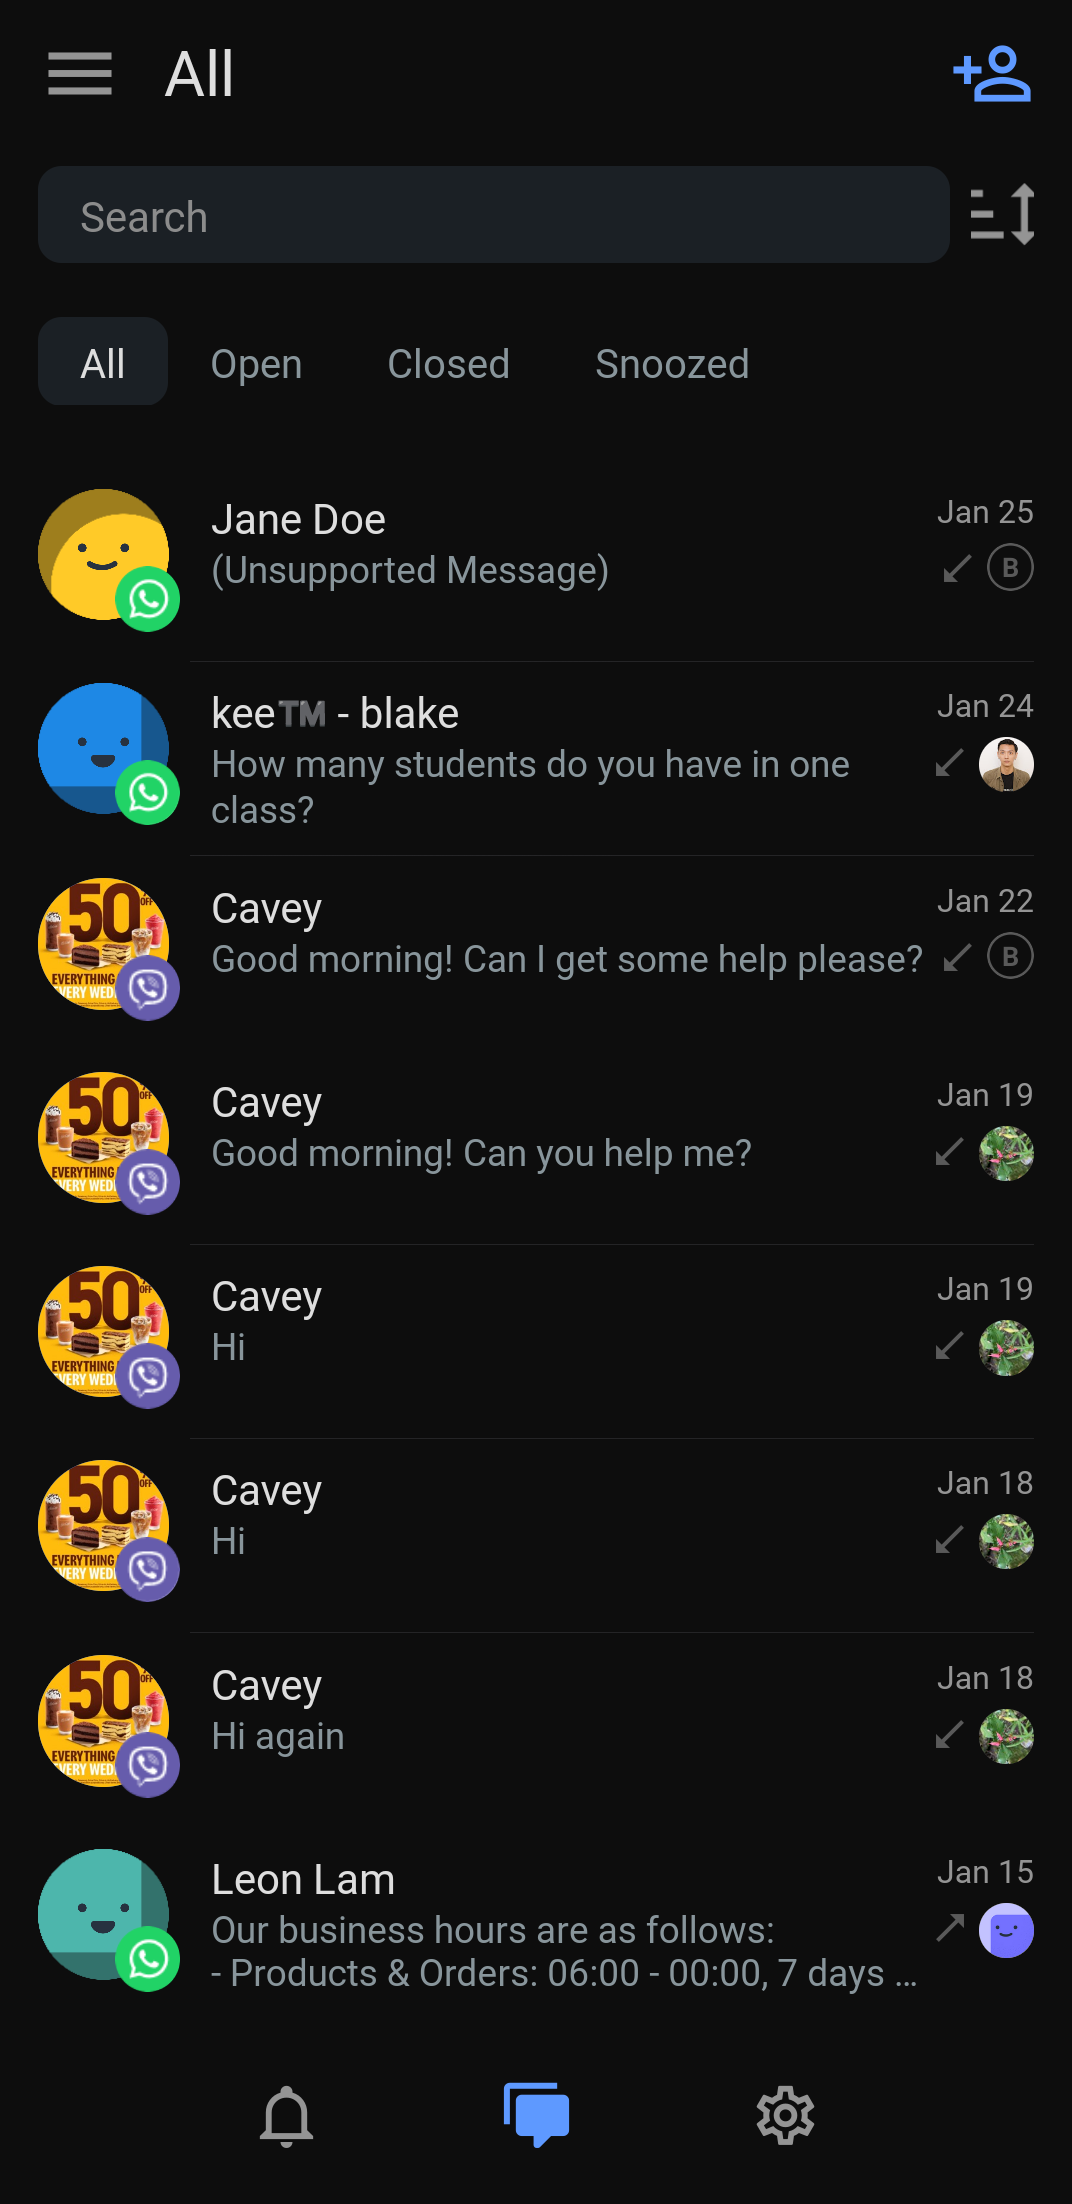
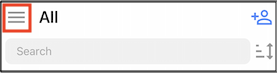
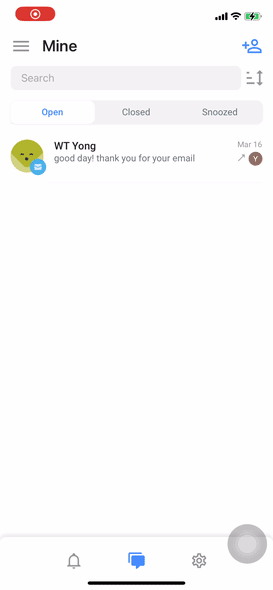
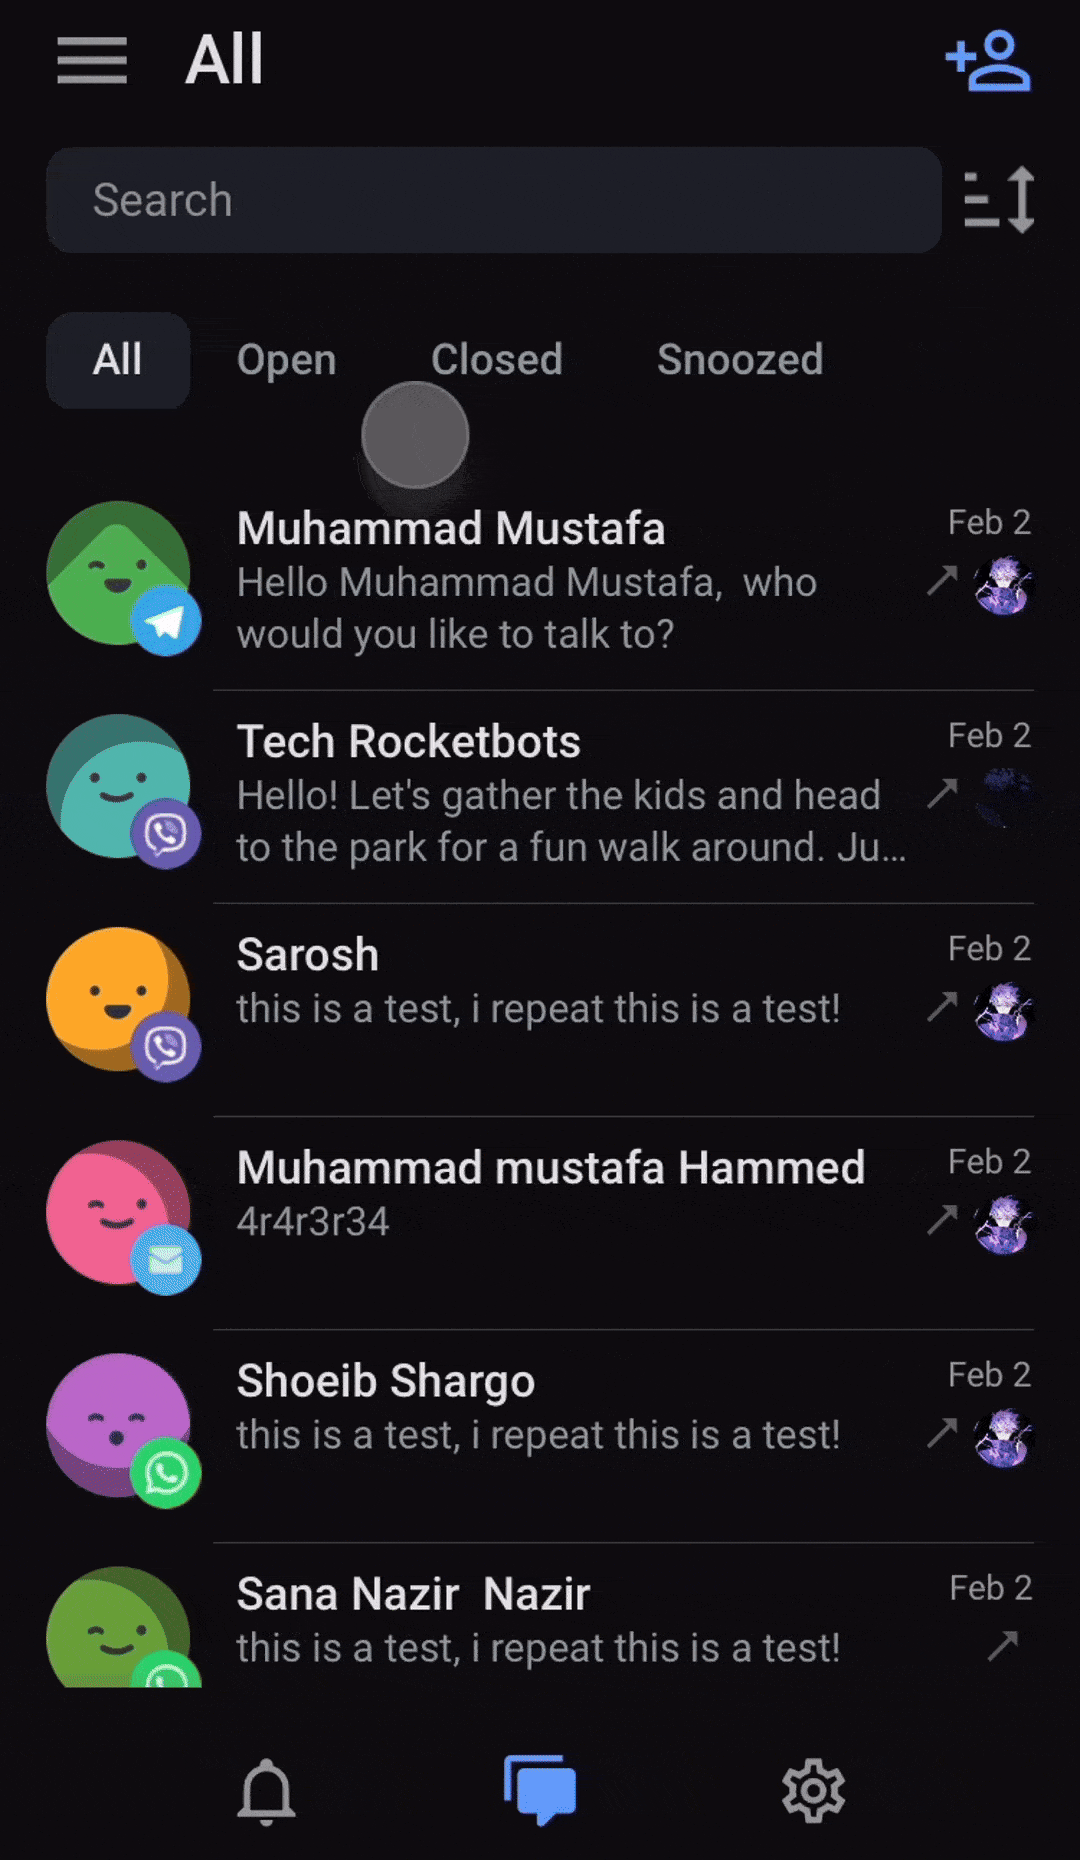
Tap the hamburger icon at the top left of the screen and tap the inbox that you want to view.
- Standard Inbox
- All: Shows all conversations.
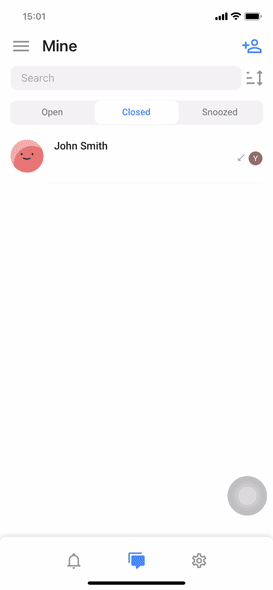
- Mine: Shows only conversations that are assigned to you.
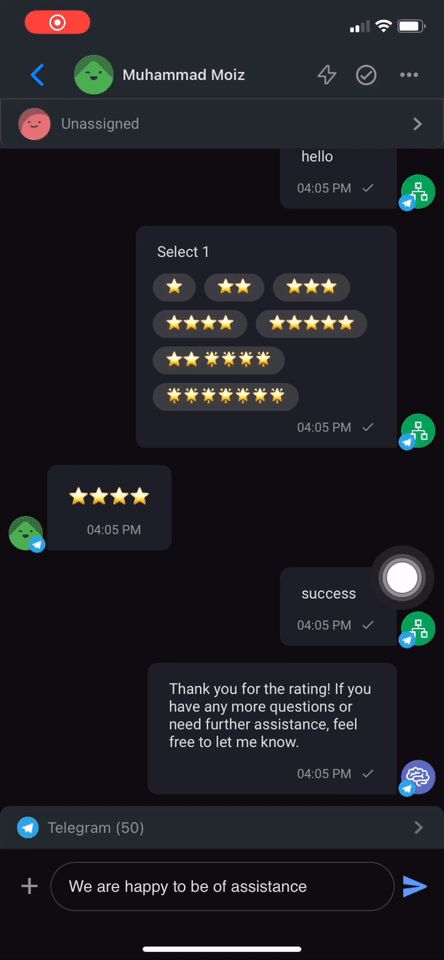
- Unassigned: Shows only conversations that haven’t been assigned.
- Team Inbox: Shows the inboxes of each Team in the Workspace.
- Custom Inbox:
- Created by me: Shows all inboxes created by you.
- Created by others: Shows all inboxes shared with you.
Viewing and Sending Messages
Identify Unread Messages
Easily identify unread messages via the number in blue on a Contact, which also indicates the number of unread messages for the Contact.

Adding Comments
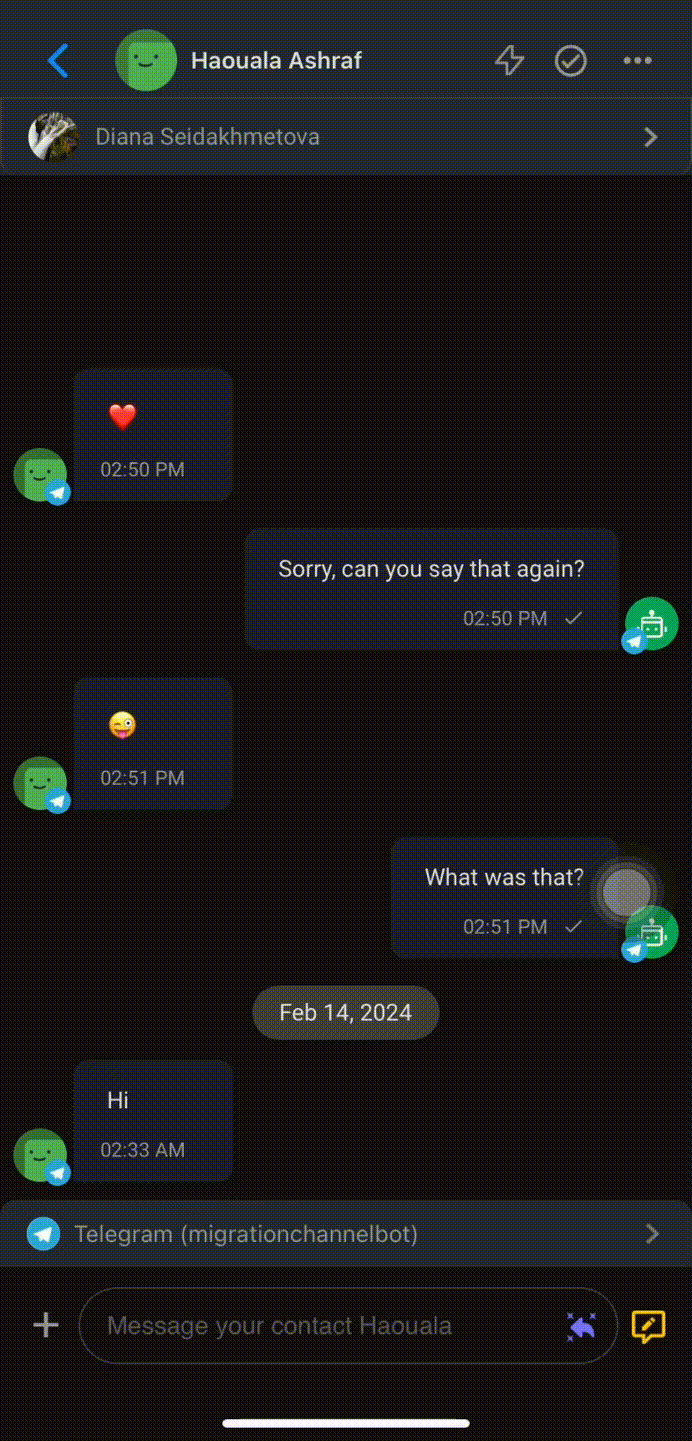
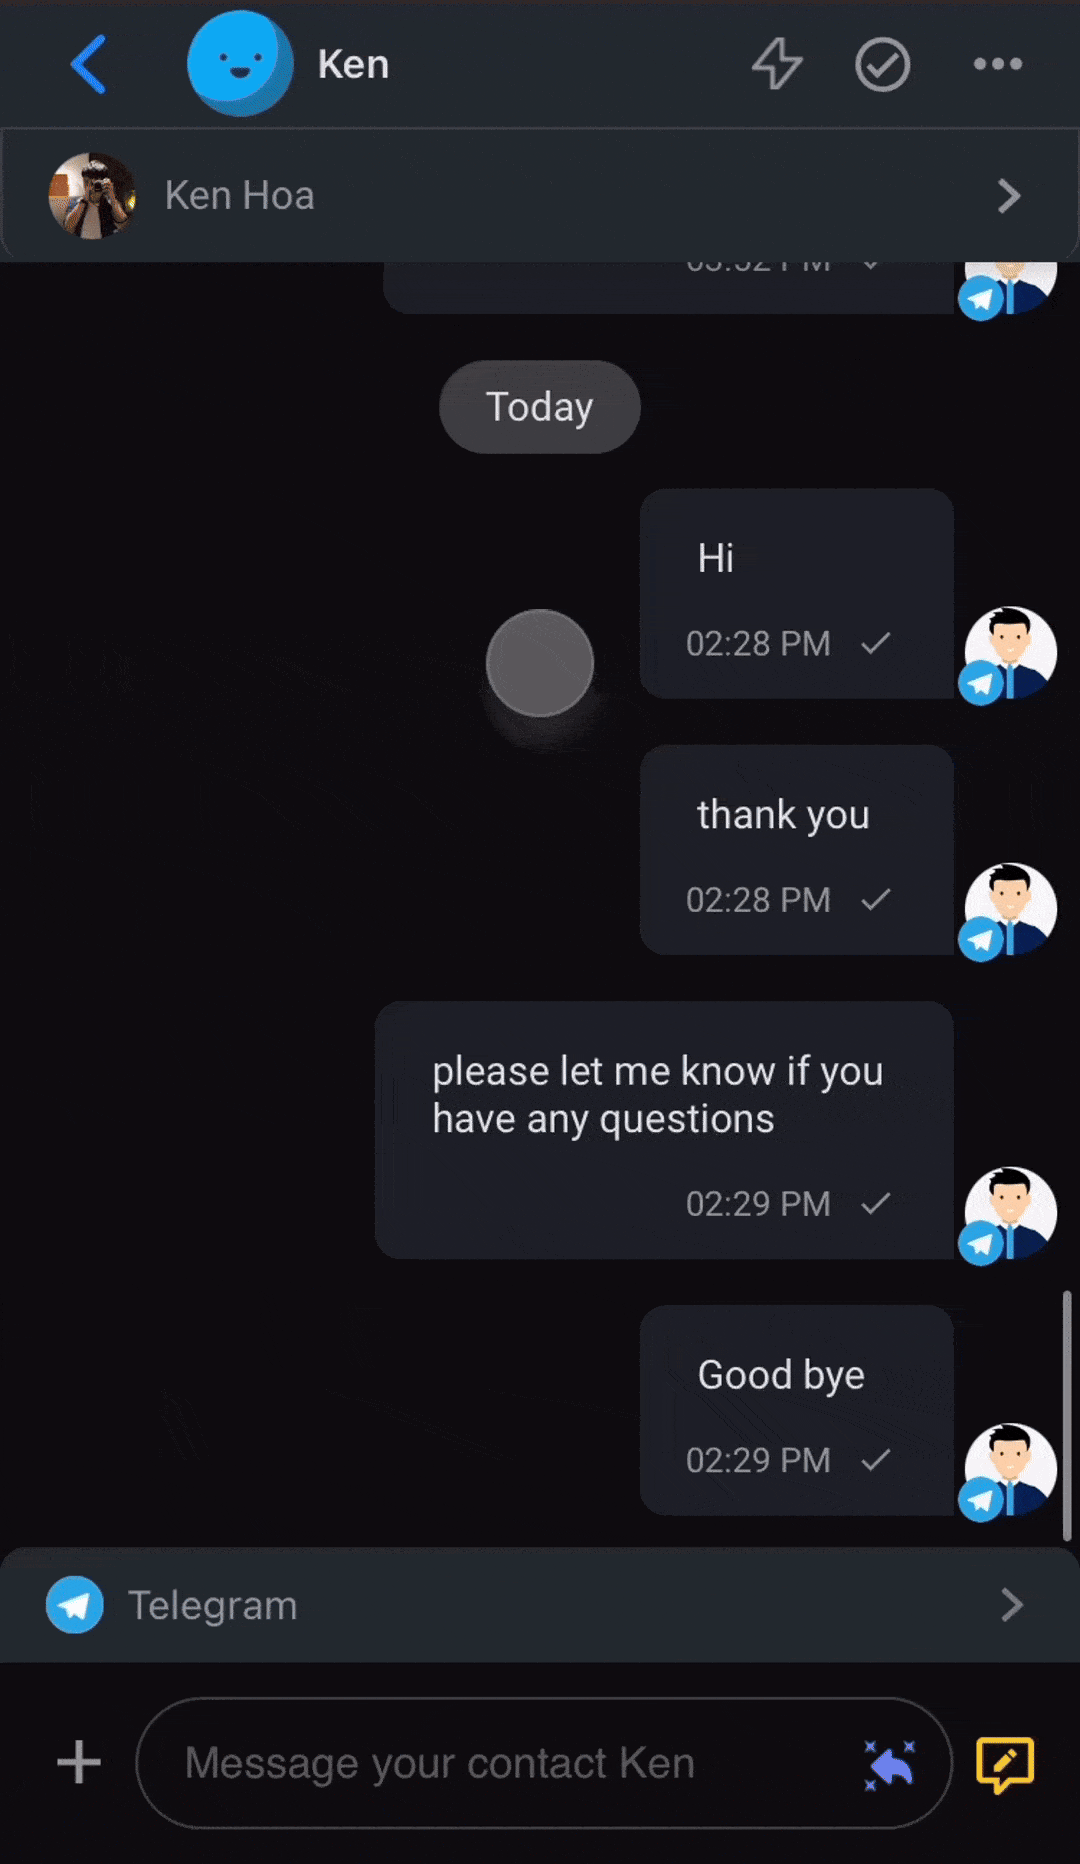
Tap a Contact to view the messages. Easily toggle between adding a comment for internal discussion (by tapping the yellow Comment icon) and communicating with your Contact (by tapping the blue Pencil icon).

Tap the messaging console at the bottom screen to compose and send messages to your Contact. You can also tap the + icon next to it to display more options:
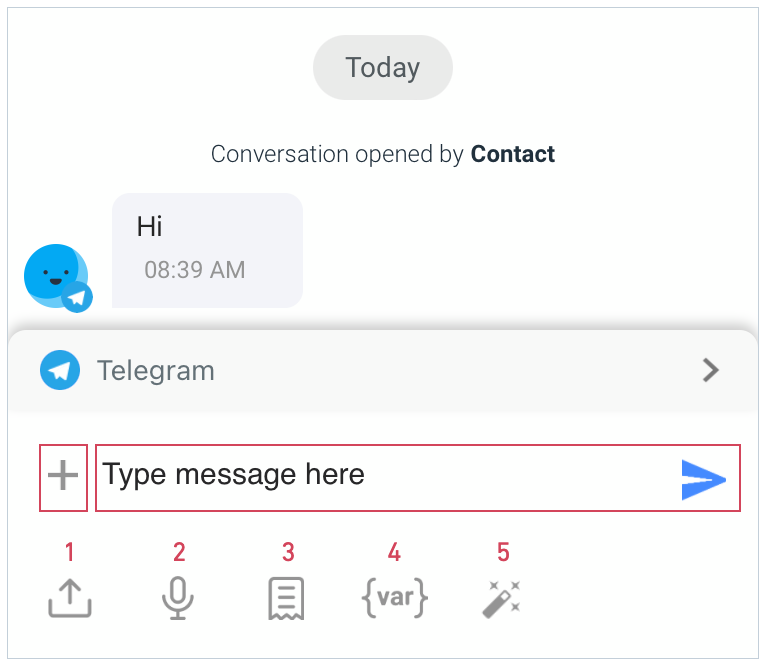
Adding Media
#1 — Upload files, images and videos from your device or library.
- The maximum file size is 20MB.
Record Voice Message
#2 — Record a voice message to send to your Contact.
Send Snippets
#3 — Select a Snippet to send to your Contact. To view the full Snippet, tap and hold the Snippet. Snippets can be created from your desktop via the Settings module.
Add Dynamic Variables
#4 — Add a dynamic variable to personalize messages to your Contacts. Tap the icon to display a list of variables.
Using AI Prompts
#5 - Reply messages using AI prompts. Tap the icon to display different type of prompts you can use.
Keyboard Shortcuts
You can also use our handy keyboard shortcuts below to save time and work more efficiently:
Shortcut | Action | |
Snippets | Slash sign / | Choose from a list of snippets displayed. |
Dynamic Variables | Dollar sign $ | Choose from a list of Dynamic Variables displayed. |
Mentions | At sign @ | Choose from a list of users displayed. |
- Some messaging Channels have a limited messaging window. After a certain period, you will not be able to to send messages to your Contacts and will have to use WMT or Message Tags to continue the chat. Read more about messaging windows here.
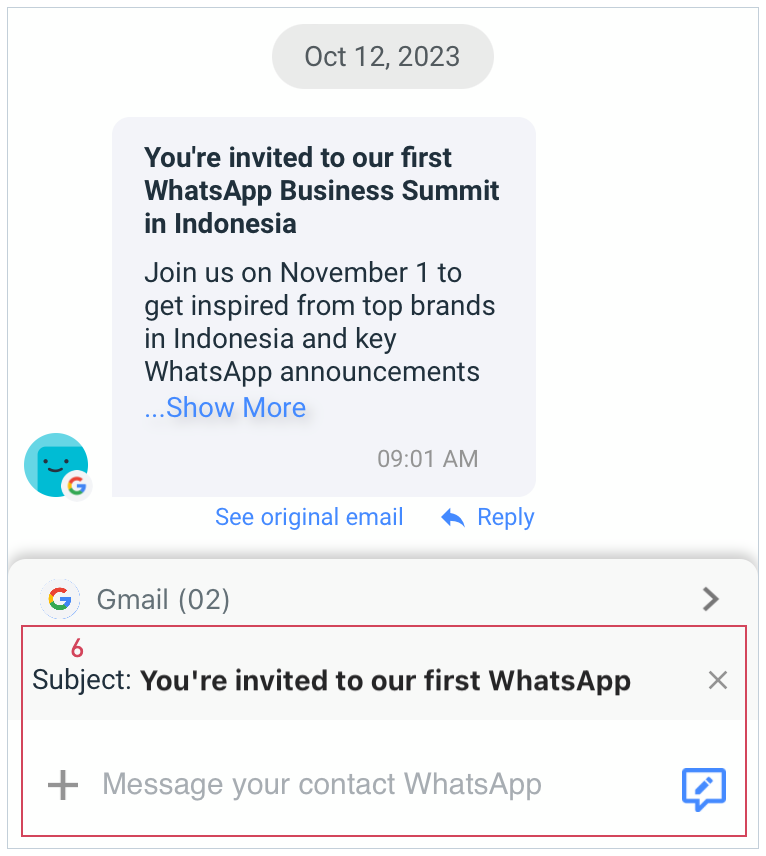
Email Messages
#6 — Add your subject line together with the email body before sending.
- By default, the subject line should show the previous email’s subject line.
- To reply to an email thread, tap "Reply" to add its subject to your reply.
- For new emails or threads, edit the subject line in the message composer.
Using AI Assist
AI Assist is a key feature in our messaging app, designed for automated and intelligent response drafting. It enhances user communication by providing quick and tailored responses.

Activation and Interaction:
- You can activate AI Assist by clicking the AI Assist icon on the message composer, or double tapping or long-pressing on any message, and then clicking Reply with AI Assist.
- Initial Use: On first usage, you are introduced to AI Assist with an onboarding guide.
- Regular Use: Subsequent usage will trigger an immediate response draft.
- AI Assist is visible and usable only when the message composer is empty.
- You can edit AI-drafted responses by inserting them into the message composer.
- For channels that support reply-to, a reply-to preview for that message will be displayed.
Rating Responses:
- In both the AI Assist console and message console, you can rate responses with thumbs-up or thumbs-down icons.
- A thumbs-up triggers a confetti animation, indicating that the drafted response is correct and adequate.
- The thumbs-down action is linked with a feedback mechanism that activates every third click, allowing you to provide specific insights for improving the AI responses.
Translating messages
Translate messages instantly on our platform. You can translate incoming messages to understand customer needs in your preferred language.
Activation:
- Double tap or long-press on any message, click Translate with Respond AI, and then select the language to be translated to.
You can also translate your own messages to reply to your customers in their preferred languages.
Activation:
- Tap the + icon next to the message composer, tap the magic wand icon to display the list of AI prompts, tap Translate, and then select the language you want the message to translate to.
Reply-to
The Reply-to feature improves communication by offering a straightforward way to reference specific messages within a conversation, especially useful when multiple topics are being discussed. This functionality allows you to clearly indicate which message they are responding to.
Using Reply-To:
- You can activate reply-to by double-tapping or long-pressing on any message.
- Swiping right on a message automatically adds a reply-to preview for that message.
Behavior After Activating Reply-To:
- The message to be replied to gets highlighted and color-coded.
- The contact name displays for incoming messages, and the assignee name for outgoing messages.
- Switching to Channels not supporting reply-to removes the preview.
- The reply-to preview truncates to one line with ellipses for longer texts.
- You can interact with the reply-to preview:
- Clicking it navigates to the specific message.
- The cancel button removes the preview.
Closing Conversations
There are 3 ways to do this.
- From the conversation history, tap the Tick icon at the top right of the screen.
- From the conversation history, tap the three-dot menu at the top right of the screen > tap Close Conversation.
- In the Open tab, swipe Contact to the left > tap Close.
- Yes: If the setting is not enabled.
- Add closing notes: If it is mandatory to close each conversation with a Closing Note.
- Close without closing notes: If it is not mandatory to close each conversation with a Closing Note.
Snoozing Conversations
There are 2 ways to do this.
- From the conversation history, tap the three-dot menu at the top right of the screen > tap Snooze Conversation > tap an option to snooze the conversation until a specific date.
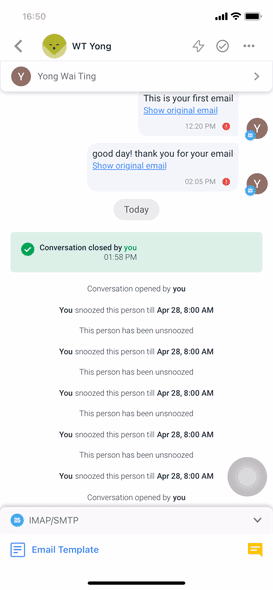
- In the Open or Closed tab, swipe Contact to the right > tap Snooze > tap an option to snooze the conversation until a specific date.
Unsnoozing Conversations
There are 2 ways to do this.
- From the conversation history, tap the three-dot menu at the top right of the screen > tap Unsnooze Conversation.

- In the Snoozed tab, swipe Contact to the right > tap Unsnooze.
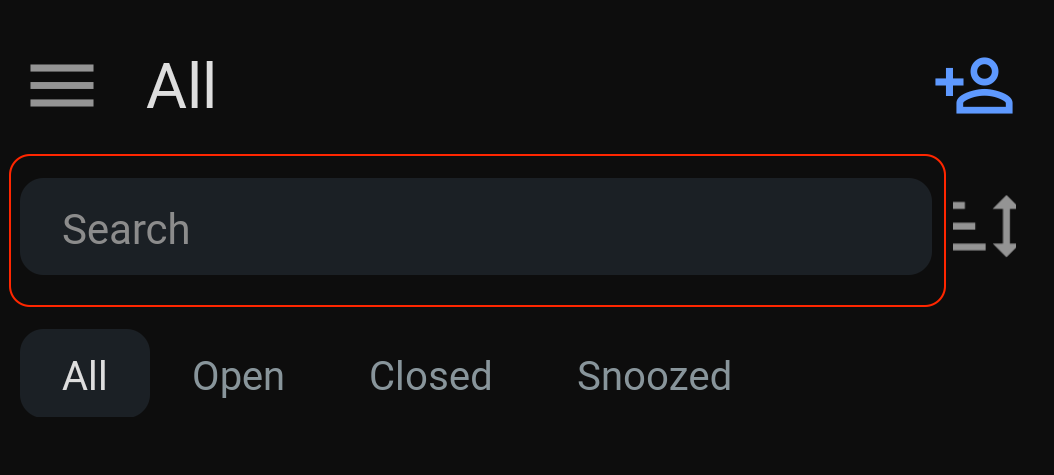
Search Bar
You can search for Contacts, Messages and Comments in the search bar.
Search Messages from a Contact’s Conversation
You can search for messages within a conversation with a Contact. There are 2 ways to do this:
- Contact profile
- Tap the Contact’s profile
- Select “Search in Messages”
- 3 dot action menu
- Tap the 3 dot action menu to open the list of actions
- Select “Search”
Managing Contacts
Searching, Filtering and Sorting Your Contacts
Search for a Contact
Type the Contact’s First Name, Last Name, Phone Number or Email address in the search bar.
Filter your Contacts
Select the desired tab to filter your conversations.
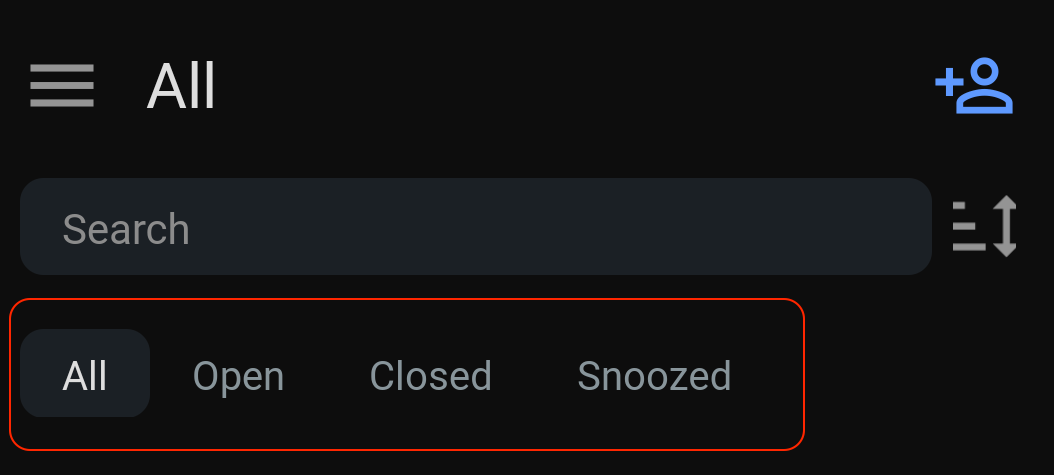
- All - This tab lists all conversations.
- Open - This tab lists all open conversations.
- Closed - This tab lists all closed conversations.
- Snoozed - This tab lists all conversations that have been snoozed.
Sort your Contacts
Tap the sort icon at the top right of the screen to sort your Contacts.
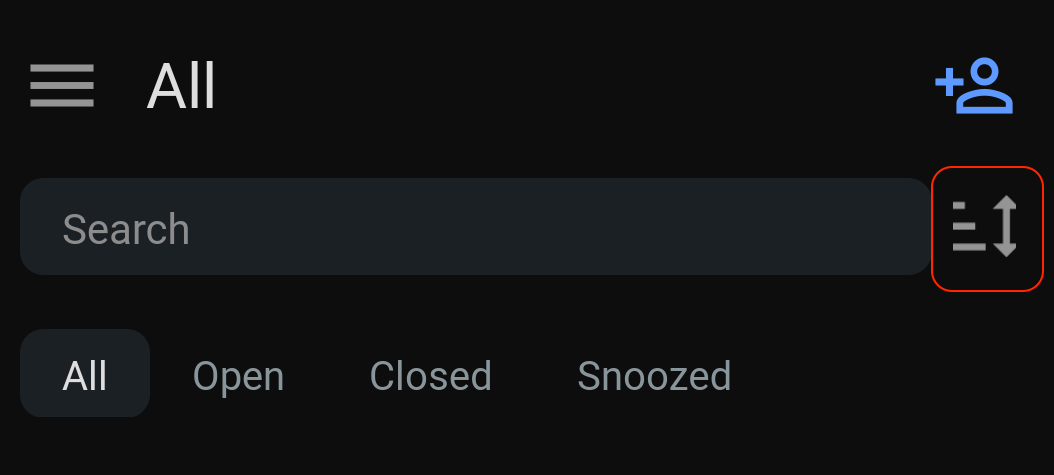
- Newest Message - This option sort Contacts by newest to oldest messages.
- Oldest Message - This option sort Contacts by oldest to newest messages.
- Longest Open / Closed / Snoozed - Depending on the tab filter, sort Contacts by the longest length of time the conversation has been opened, closed or snoozed (from longest to shortest duration).
- Shortest Open / Closed / Snoozed - Depending on the tab filter, sort Contacts by the shortest length of time the conversation has been opened, closed or snoozed (from shortest to longest duration).
Adding Contacts
Tap the person icon at the top right of the screen > fill in the Contact’s information > tap Save.
Viewing and Editing Contact Details
Use this option to view and edit the Contact’s details.
To view the Contact’s details, go to the conversation history and tap the Contact’s name at the top screen. Alternatively, tap the three-dot menu at the top right of the screen and tap View Contact Details.
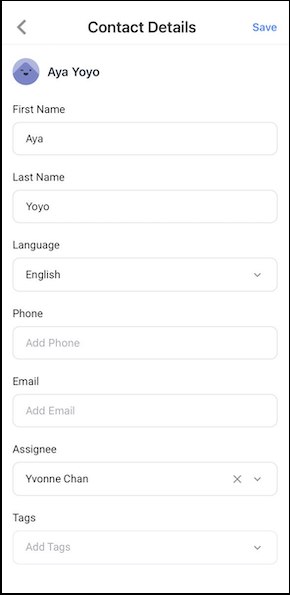
If you have made changes to the details, tap Save.
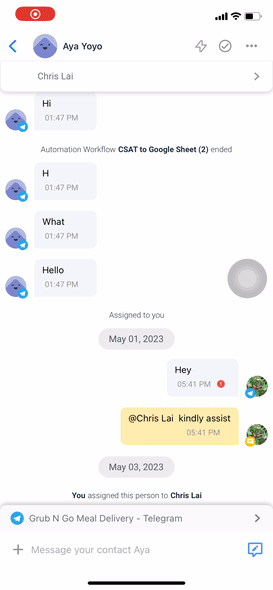
Assigning Contacts to a User
From the conversation history, tap the section below the Contact’s name, or tap the three-dot menu at the top right of the screen and tap Assign User > select the user to whom you want to assign > tap Done.
Unassigning Contacts from a User
From the conversation history, tap the section below the Contact’s name, or tap the three-dot menu at the top right of the screen and tap Assign User > tap Unassign > tap Done.
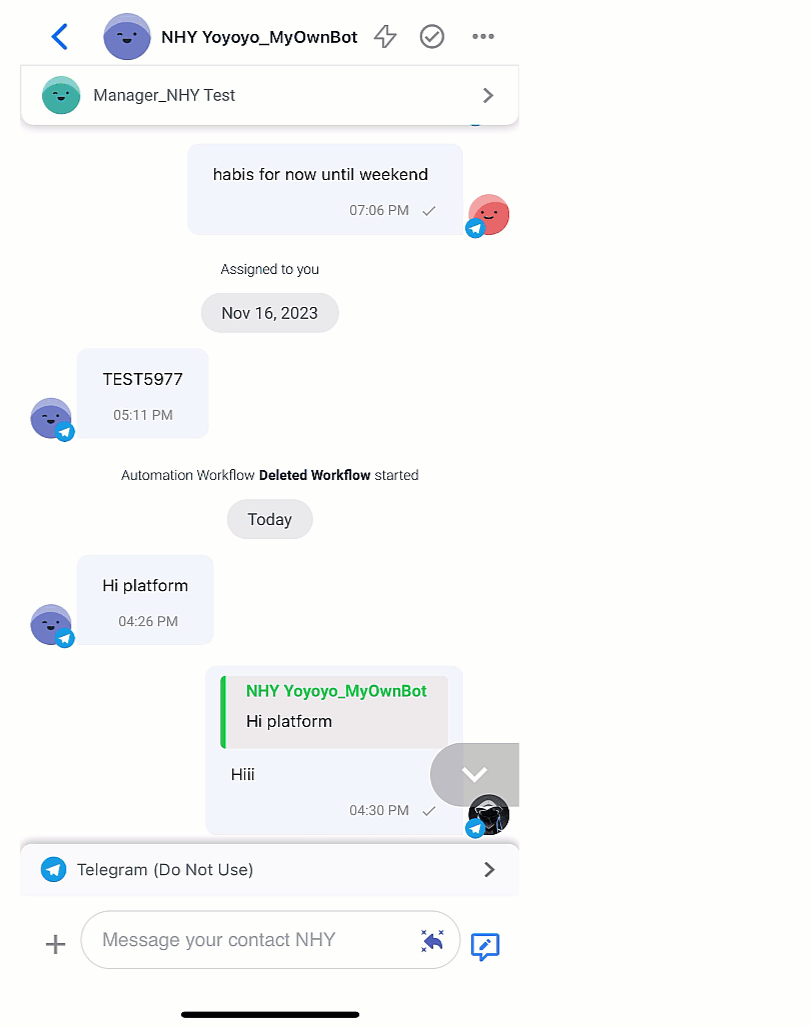
Automation and Workflow Tools
Enabling or Disabling Dialogflow Bot
Using Dialogflow, you can create a bot to direct a user through conversations and understand their intentions.
To enable this, go to the conversation history and tap the three-dot menu at the top right of the screen > tap Enable Dialogflow Bot.
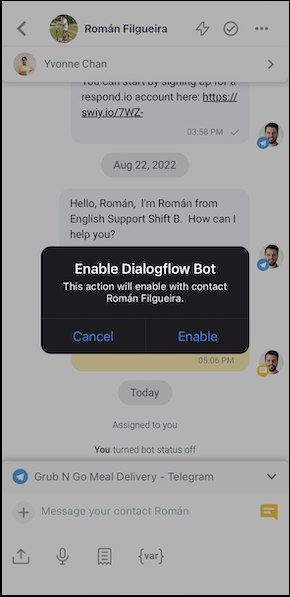
To disable it, repeat the step and tap Disable Dialogflow Bot.
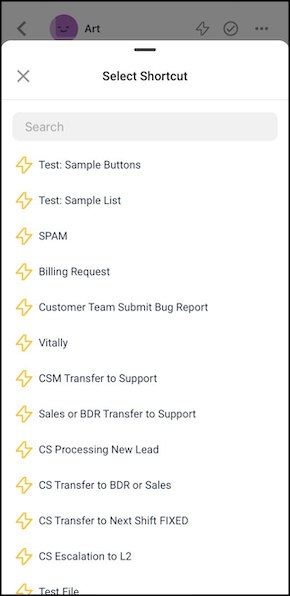
Selecting Shortcut
Use this option to initiate a Workflow that is created with the “Shortcut” trigger.
To initiate a Workflow, go to the conversation history and tap the lightning icon at the top right of the screen, or tap the three-dot menu at the top left of the screen and tap Select Shortcut > tap the shortcut.